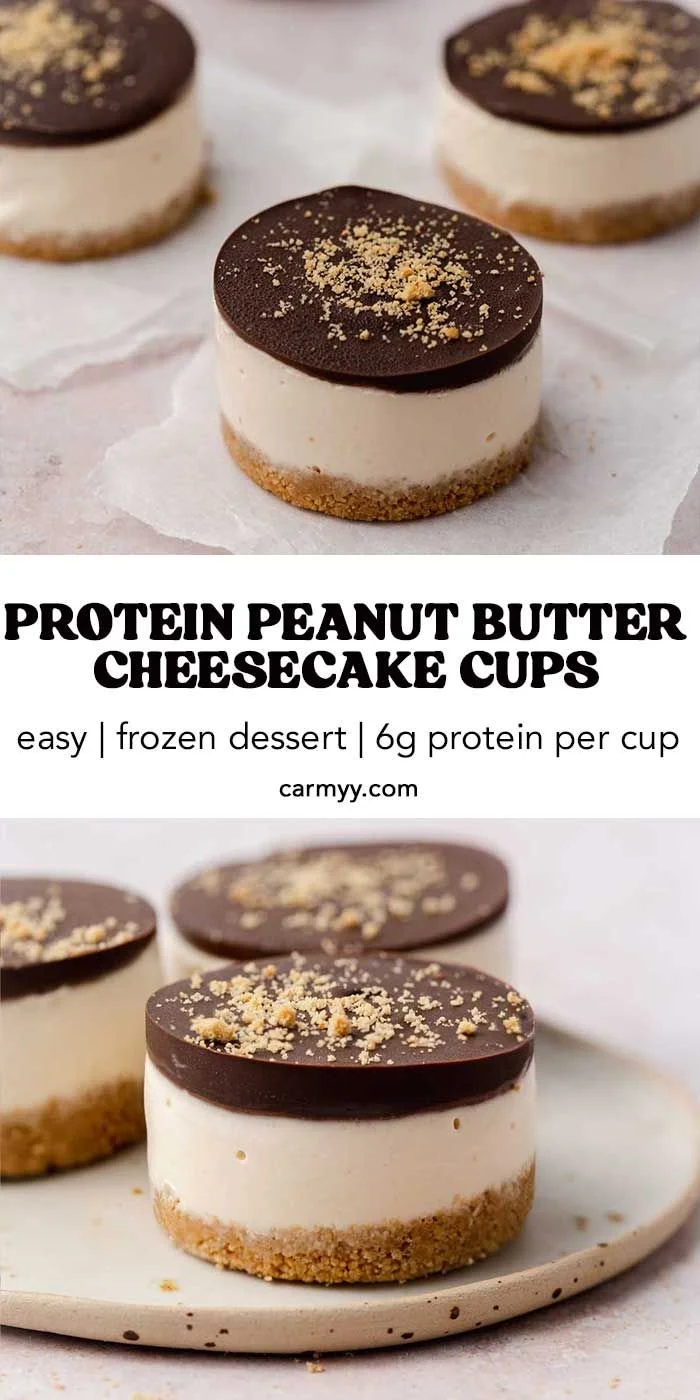
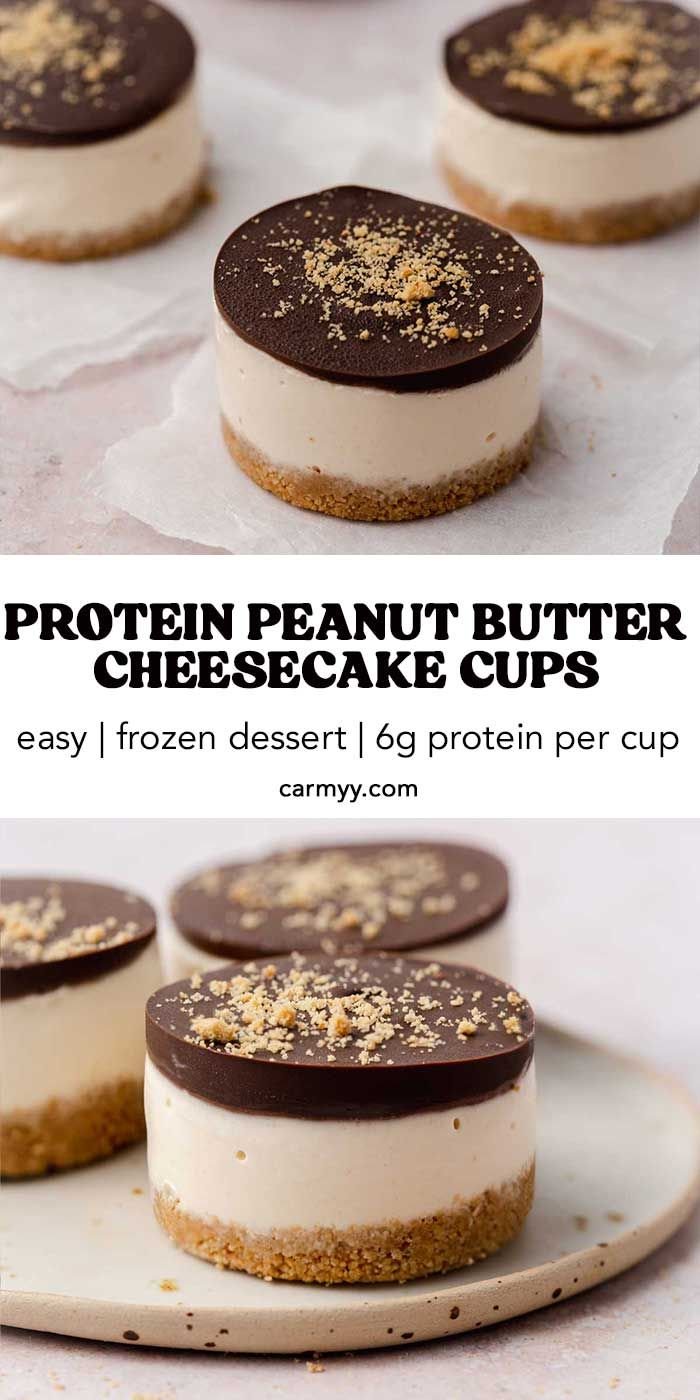
Protein Peanut Butter Cheesecake Cups are a delightful treat that combines the creamy indulgence of cheesecake with the wholesome goodness of Greek yogurt and protein-rich peanut butter. Perfect for satisfying sweet cravings, these cups make a great snack or dessert after a long day. They’re easy to prepare and require no baking, making them a convenient option for beginner cooks.
Why You’ll Love Protein Peanut Butter Cheesecake Cups
- Healthy Indulgence: These cheesecake cups are made with Greek yogurt and natural peanut butter, offering a creamy texture without the guilt of traditional cheesecake.
- Quick and Easy: With minimal prep time and no baking involved, you can whip these up quickly, perfect for busy lifestyles.
- Protein-Packed: The inclusion of Greek yogurt and peanut butter gives these cups a protein boost, making them a satisfying treat that keeps you full longer.
- Customizable: You can easily adjust the flavors and toppings based on your preferences, so each batch can be uniquely delicious.
- Make Ahead: These cups can be made in advance and stored in the freezer, providing a convenient snack option whenever you need it.
Recipe Overview
- Prep Time: 15 minutes
- Cook Time: 0 minutes (freezing time not included)
- Total Time: 2 hours (to freeze)
- Servings: 12 cups
- Difficulty Level: Easy
Ingredients You’ll Need for Protein Peanut Butter Cheesecake Cups
-
For the Crust:
- 1⅓ cups graham cracker crumbs
- 10 tablespoons melted unsalted butter (add more if the mixture seems dry)
-
For the Filling:
- 2 cups Greek yogurt (full fat, plain)
- 4 tablespoons maple syrup (adjust for sweetness)
- 10 tablespoons natural peanut butter (preferably creamy; this is ½ cup + 2 tablespoons)
-
For the Topping:
- 1½ cups chocolate chips
- 2 teaspoons coconut oil
How to Make Protein Peanut Butter Cheesecake Cups
-
Prepare the Crust
In a mixing bowl, combine the graham cracker crumbs and melted butter. Stir until the mixture is well combined and crumbly. -
Mold the Crust
Scoop approximately 1½ tablespoons of the graham cracker mixture into each muffin mold. Use the back of a spoon to press the mixture down firmly to create a crust. Place the molds in the freezer while you prepare the filling. -
Make the Filling
In a mixing bowl, whisk together the Greek yogurt, maple syrup, and peanut butter until smooth. Taste the mixture and add more maple syrup or peanut butter if desired. -
Fill the Molds
Remove the muffin molds from the freezer. Evenly fill each mold with the Greek yogurt mixture, about 1½ to 2 tablespoons per cup. Gently tap the molds on the counter to eliminate any air pockets and ensure a smooth top. -
Prepare the Topping
In a microwave-safe bowl, combine the chocolate chips and coconut oil. Heat in the microwave in 20-second increments, stirring in between, until the chocolate is completely melted and smooth. -
Add the Chocolate Layer
Spoon the melted chocolate over the top of each filled cup, covering the yogurt layer. Return the muffin molds to the freezer and freeze for at least 2 hours to firm up completely before enjoying.
Tips for Success
- Crust Consistency: Ensure the graham cracker mixture is moist but not overly wet. If it crumbles too much, add a bit more melted butter.
- Taste Test: Always taste the filling mixture before pouring it into the molds. You can adjust the sweetness with extra maple syrup or adjust the peanut butter flavor according to your preference.
- Even Freezing: To ensure even freezing, make sure the filling is level in each mold and doesn’t sit unevenly.
- Melting Chocolate: Stir the chocolate frequently while melting to prevent burning and achieve a smooth consistency.
- Room Temperature: Allow the cheesecake cups to sit at room temperature for a few minutes before trying to pop them out of the molds for easier removal.
Easy Variations
- Nut Butter Swap: Substitute almond butter or sunflower seed butter for a different flavor profile or for nut-free options.
- Flavor Twist: Add a teaspoon of vanilla extract to the filling for an enhanced flavor experience.
- Fruit Layer: Incorporate layers of fresh fruit like bananas or strawberries between the yogurt and chocolate layers for added freshness.
- Cookie Crust: Swap the graham cracker crumbs for crushed Oreos or other flavored cookies for a fun twist.
- Dairy-Free Version: Use a dairy-free Greek yogurt alternative to make this a lactose-free treat.
What to Serve with Protein Peanut Butter Cheesecake Cups
- Fresh Berries: Berries make a refreshing addition that complements the creamy, rich flavors of the cheesecake cups.
- Greek Yogurt Parfait: Layer these cups with granola and yogurt to create a wholesome breakfast or snack.
- Nutty Granola: Crushed granola can add a crunchy texture and make a great accompaniment for serving alongside.
- Coffee or Tea: Serve with your favorite beverage for an afternoon pick-me-up that balances the sweetness of the cups.
Storage and Reheating
- Refrigerator Storage: Store the cups in an airtight container in the refrigerator for up to 5 days.
- Freezer Storage: They can be frozen for up to 3 months. Layer them between parchment paper in an airtight container to prevent sticking.
- No Reheating Needed: Enjoy them chilled right from the fridge or freezer. Allow to sit out for a few minutes if you prefer a softer texture.
Common Mistakes to Avoid
- Overmixing: When making the filling, mix just until combined. Overmixing can change the texture.
- Too Little Butter: Not using enough butter in the crust can lead to a crumbly base that falls apart.
- Not Tapping the Mold: Failing to tap the molds can lead to air pockets in the filling, resulting in uneven textures.
- Skipping Freezing Time: Don’t rush the freezing process; they need adequate time to set for the best results.
Protein Peanut Butter Cheesecake Cups: Background & Cultural Inspiration
The idea of cheesecake has roots in ancient Greece, where it was served to athletes during the first Olympic Games. This modern twist on cheesecake harnesses the same creamy appeal but uses high-protein ingredients that reflect today’s interest in healthful eating. By incorporating Greek yogurt and natural nuts, the recipe pays homage to both health trends and the classic cheesecake dessert, suitable for any occasion.
Frequently Asked Questions
Can I make these cups dairy-free?
Yes! You can substitute Greek yogurt with a dairy-free yogurt alternative, and be sure to use dairy-free chocolate chips.
How long can I keep these in the fridge?
These cheesecake cups can be stored in the refrigerator for up to 5 days, making them a great snack option.
Can I use a different sweetener?
Absolutely! Feel free to replace maple syrup with honey or agave syrup according to your taste preferences and dietary needs.
What if I don’t have muffin molds?
You can use silicone cupcake liners or even small dessert cups. Just ensure they are freezer-friendly.
Can I make these ahead of time?
Yes! These cups are perfect for meal prep and can be made a few days in advance or frozen for later.
Final Thoughts
Protein Peanut Butter Cheesecake Cups are not only easy to make but also a nourishing treat that satisfies your sweet tooth without compromising on health. Their rich flavors and creamy texture make them a delightful snack or dessert option for anyone, from busy professionals to family gatherings. So why not give this simple recipe a try? Your taste buds—and your body—will thank you!