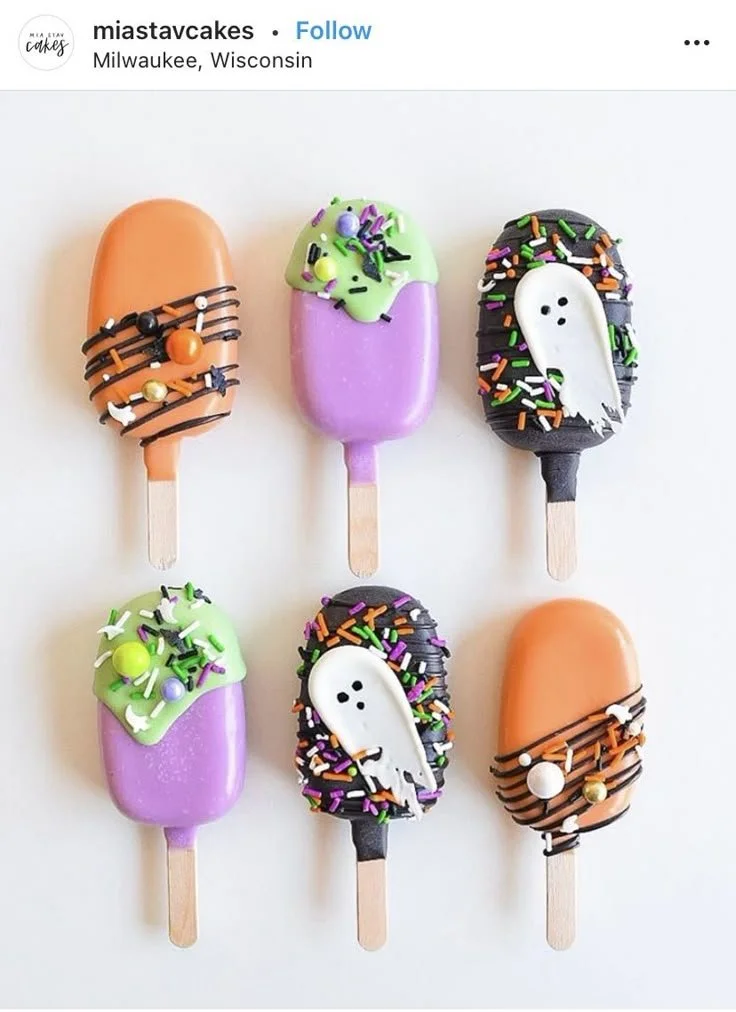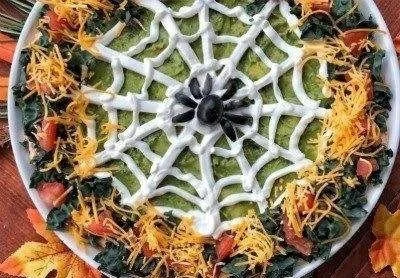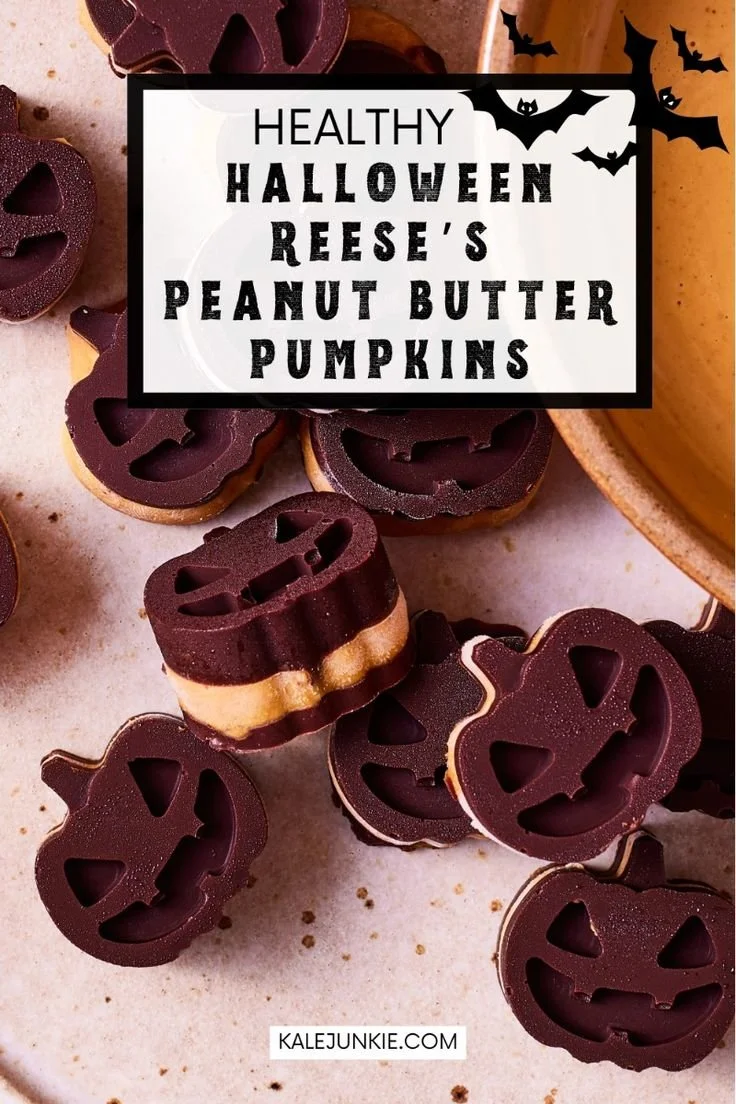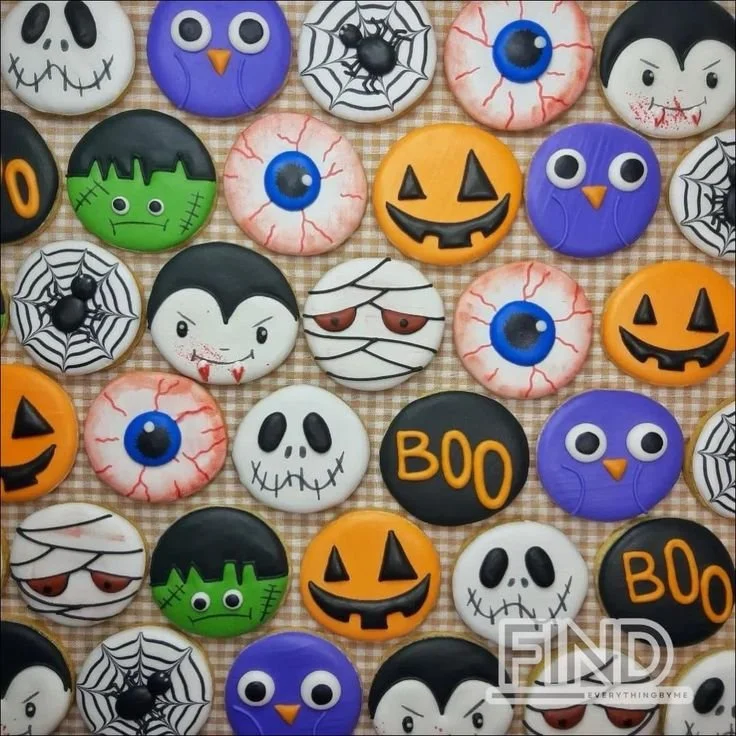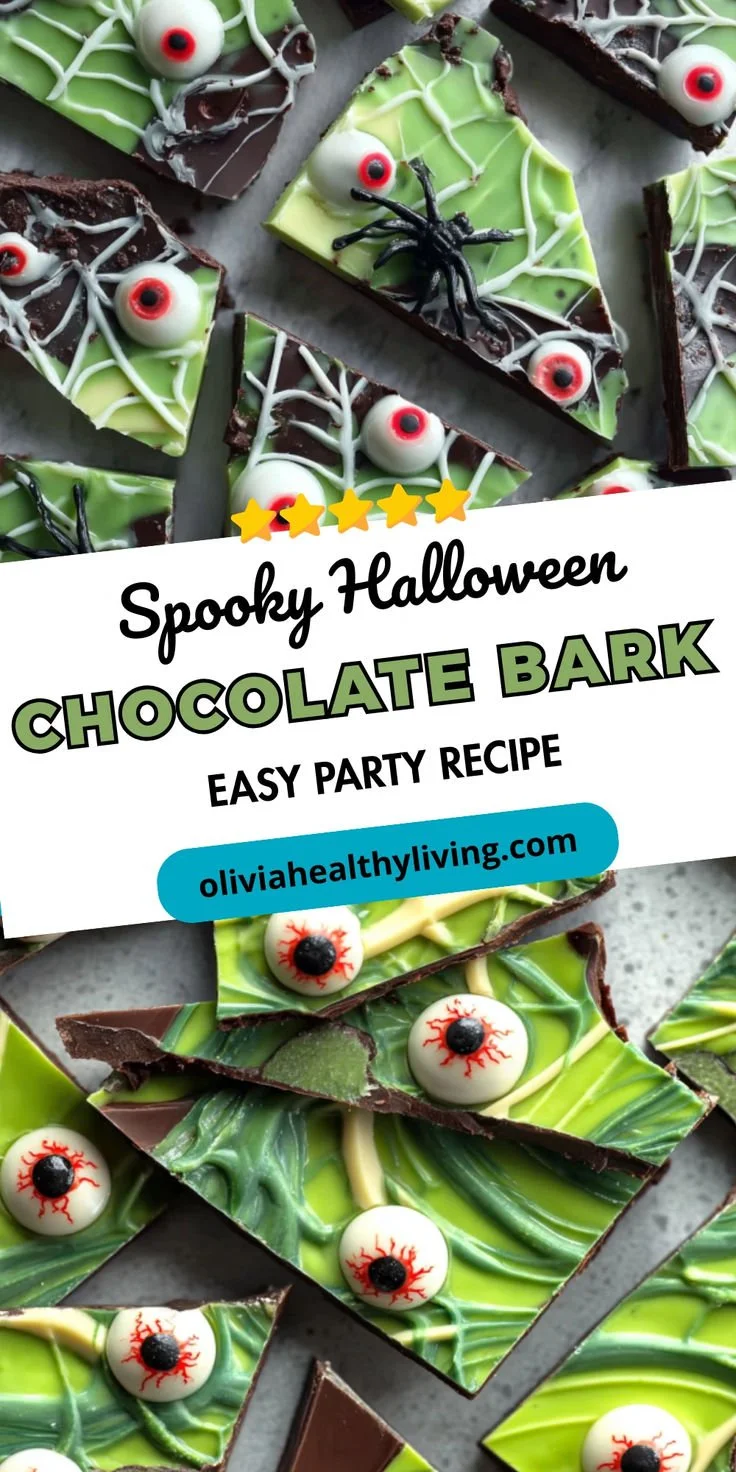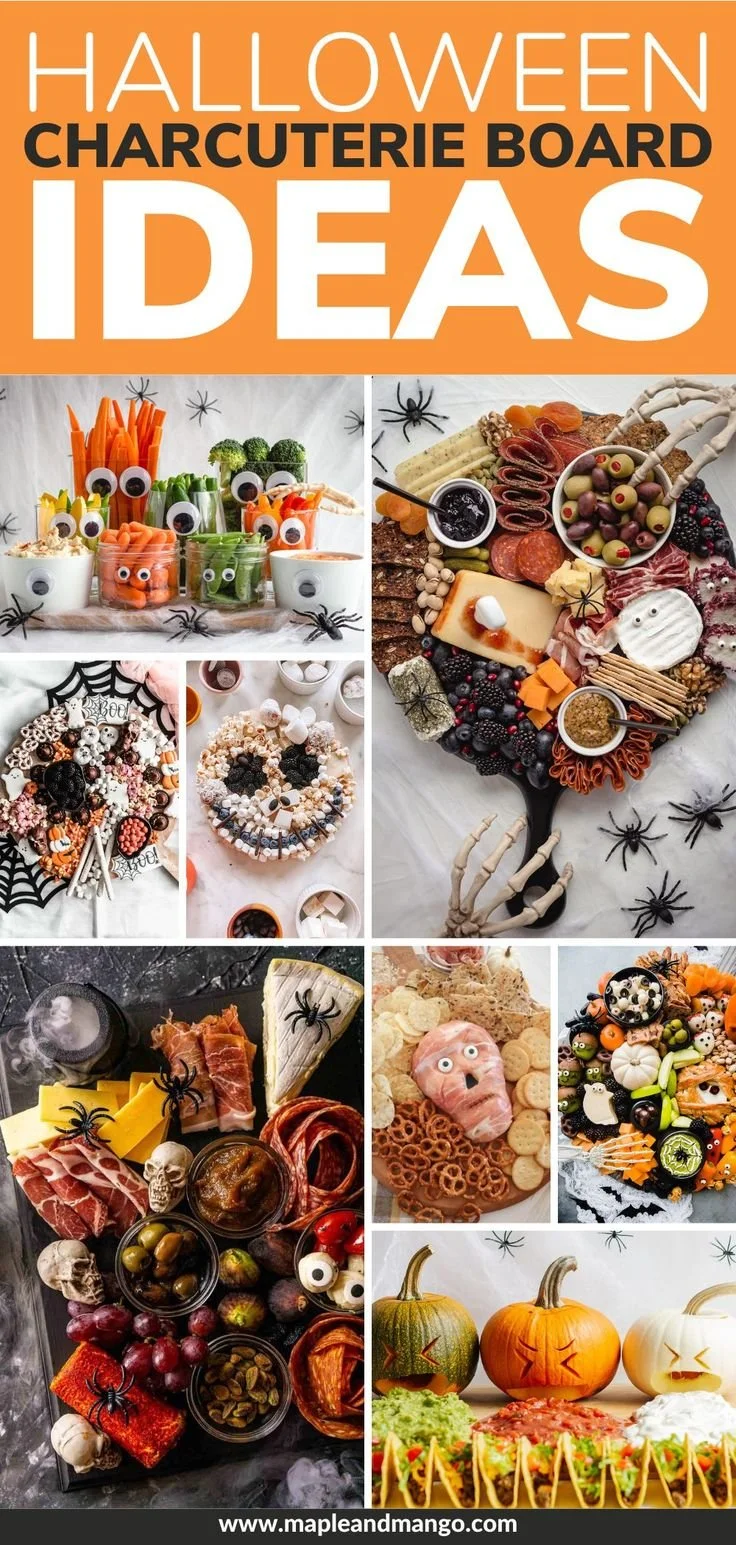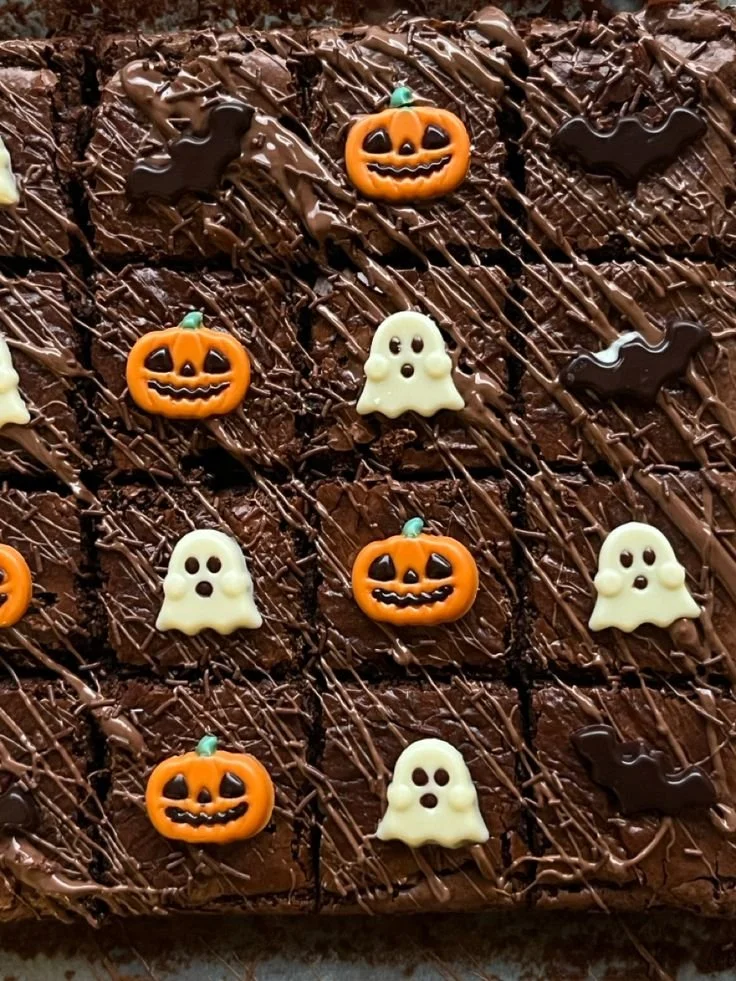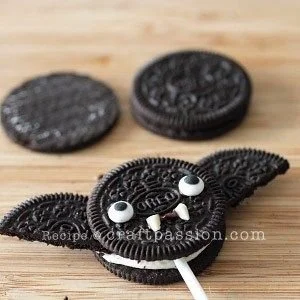
Halloween is the perfect time to get creative in the kitchen, and these Quick and Easy Halloween Bat Oreo Pops are a delightful treat that brings a fun twist to a classic favorite. Not only are they simple to make, but they also make for a spook-tacular treat for kids and adults alike. Whether for a party, school function, or just a festive snack at home, these bat-shaped pops are bound to add a festive flair to your Halloween celebrations.
Why You’ll Love Quick and Easy Halloween Bat Oreo Pops
- Simple and Quick: With just a few ingredients and minimal prep time, these pops can be whipped up in under 30 minutes, making them perfect for last-minute parties.
- Family Fun Activity: Involve your kids in the assembly and decorating process. It’s a great way to bond and unleash creativity!
- Customizable: You can easily personalize these pops with different toppings or colors, letting you tailor them to your taste or theme.
- Delicious and Fun: With the classic Oreo flavor combined with chocolate, these pops are bound to be a hit at any gathering.
- Perfect for Gifting or Sharing: Pack them up for friends, neighbors, or school treats; they travel well and look festive on any dessert table.
Recipe Overview
- Prep Time: 15 minutes
- Cook Time: 15 minutes
- Total Time: 30 minutes
- Servings: 12 pops
- Difficulty Level: Easy
Ingredients You’ll Need for Quick and Easy Halloween Bat Oreo Pops
- Oreos: 1 standard package (about 15 cookies). This is the key ingredient, giving the pops their signature flavor.
- Chocolate Melts: 12 ounces (semi-sweet or dark). Used for coating the Oreos and making the bats’ wings.
- Lollipop Sticks: 12. These will support your bat pops while they set.
- Candy Eyes: 24 pieces (available at most baking supply stores or online). These will add the cute factor to your bats.
- Parchment Paper: For cooling the chocolate-dipped pops.

How to Make Quick and Easy Halloween Bat Oreo Pops
- Prepare Oreos: Carefully separate the Oreo cookies, ensuring the filling stays intact on one half. This will help your pops hold their shape.
- Melt Chocolate: In a microwave-safe bowl, melt the chocolate melts in 30-second intervals, stirring between each until smooth.
- Dip Cookies: Use a lollipop stick to dip the filling side of the Oreo into the melted chocolate, ensuring it’s well-coated. This acts as the “glue” to hold the two halves together.
- Assemble the Pops: Gently press the two halves of the Oreo back together, with the lollipop stick positioned in between. Hold for a few seconds to help them set.
- Add Wings: Use a spoon to drizzle some melted chocolate onto a flat surface. Drag the chocolate to form two wing shapes. Alternatively, you can simply use additional melted chocolate to attach small cookie pieces as wings directly to the Oreos.
- Decorate: Attach two candy eyes to the filled side of the Oreo before the chocolate sets for a cute bat face.
- Let Them Set: Place the pops on parchment paper and let them cool until the chocolate hardens completely.
- Serve and Enjoy: Once set, your Halloween Bat Oreo Pops are ready for your spooky celebrations!
Tips for Success
- Choose Quality Ingredients: Using high-quality chocolate will enhance the flavor of your pops.
- Control Chocolate Consistency: If the chocolate is too thick, you can add a tiny bit of coconut oil to thin it out for better dipping.
- Use a Double Boiler: If you’re having trouble melting the chocolate in the microwave, consider using a double boiler to avoid burning.
- Keep Things Cool: If your kitchen is warm, consider chilling the Oreos before dipping to help the chocolate set quickly.
- Experiment with Toppings: Add sprinkles, edible glitter, or even crushed nuts for added texture and festive flair.
Easy Variations
- Different Cookie Base: Try using flavored Oreos, such as peppermint or red velvet, to add different tastes.
- Bright Colors: Use colored melting chocolates (like orange or purple) to make your pops more festive.
- Peanut Butter Twist: Spread a thin layer of peanut butter between the Oreo halves before dipping for added flavor.
- Spooky Additions: Use different shaped candies or decorations (like pumpkin-shaped candies) for a Halloween-themed effect.
- No Stick Option: If you prefer, you can serve them as simple dipped Oreos, removing the lollipop stick for easier snacking.
What to Serve with Quick and Easy Halloween Bat Oreo Pops
- Milk: A classic pairing that complements the chocolatey goodness of Oreos perfectly.
- Hot Chocolate: Serve alongside warm drinks for a cozy treat during Halloween gatherings.
- Fruit Platter: Offer refreshing fruits like apple slices or grapes to balance out the sweetness.
- Spooky Cupcakes: Brightly colored or decorated cupcakes can add flair to your dessert table and mesh well with the playful theme.
- Halloween Punch: A colorful drink can enhance the festive vibe, especially if served in fun, themed cups.
Storage and Reheating
- Refrigerator Storage: Store any leftover pops in an airtight container in the fridge for up to five days.
- Freezer Storage: You can freeze the pops for up to two months. Simply wrap them well in plastic wrap and place them in a freezer bag.
- Best Reheating Method: If they have been frozen, thaw them in the refrigerator overnight before serving. Avoid reheating, as chocolate can lose its texture.
- Preserving Texture: Keep refrigerated until ready to serve as this helps maintain the chocolate’s firmness.
Common Mistakes to Avoid
- Overheating the Chocolate: Be careful to heat the chocolate melts slowly to prevent scorching.
- Too Much Pressure: When assembling, don’t press too hard on the Oreo halves; it can cause the cookie to break.
- Skipping the Cool Time: Allow the pops to set completely before serving to ensure the chocolate maintains its structure.
- Not Keeping Ingredients Cold: If working in a warm environment, consider chilling your cookies or the melted chocolate to ensure a better dip.
- Ignoring the Design: Take your time decorating; a little effort here can make your pops stand out at any gathering.
Quick and Easy Halloween Bat Oreo Pops: Background & Cultural Inspiration
Halloween traditions have shifted over the years, evolving from ancient rituals to a deeply-felt celebration in contemporary times. The fun of creating themed treats like the Halloween Bat Oreo Pops captures the essence of this playful holiday. Bats, often considered symbols of Halloween, evoke feelings of mystery and spookiness, making them an ideal addition to festive fare. These pops also reflect modern cooking trends that favor fun, easy, and visually appealing treats, showing the joy that can be found in creative cooking.
Frequently Asked Questions
Can I use other types of cookies?
Yes! Feel free to experiment with other cookies like chocolate chip or even gluten-free options.
How can I make these pops dairy-free?
Use dairy-free chocolate melts and choose an appropriately dairy-free cookie to make them suitable for a dairy-free diet.
How long can I prep these in advance?
You can prepare the Oreo pops a day or two in advance; just remember to store them properly to maintain freshness.
What can I use instead of candy eyes?
You can use mini chocolate chips or dots of icing to create eyes if candy eyes are not available.
Can I make these without lollipop sticks?
Absolutely! You can serve them as simple dipped cookies without sticks for easy snacking.
Final Thoughts
These Quick and Easy Halloween Bat Oreo Pops are a delightful way to celebrate the season. With straightforward steps and a bit of creativity, you can create a treat that’s sure to impress. Whether you’re making them for a party or enjoying them with family, these cute pops are worth adding to your Halloween tradition. Get ready for fun and delicious memories with this easy-to-make treat!