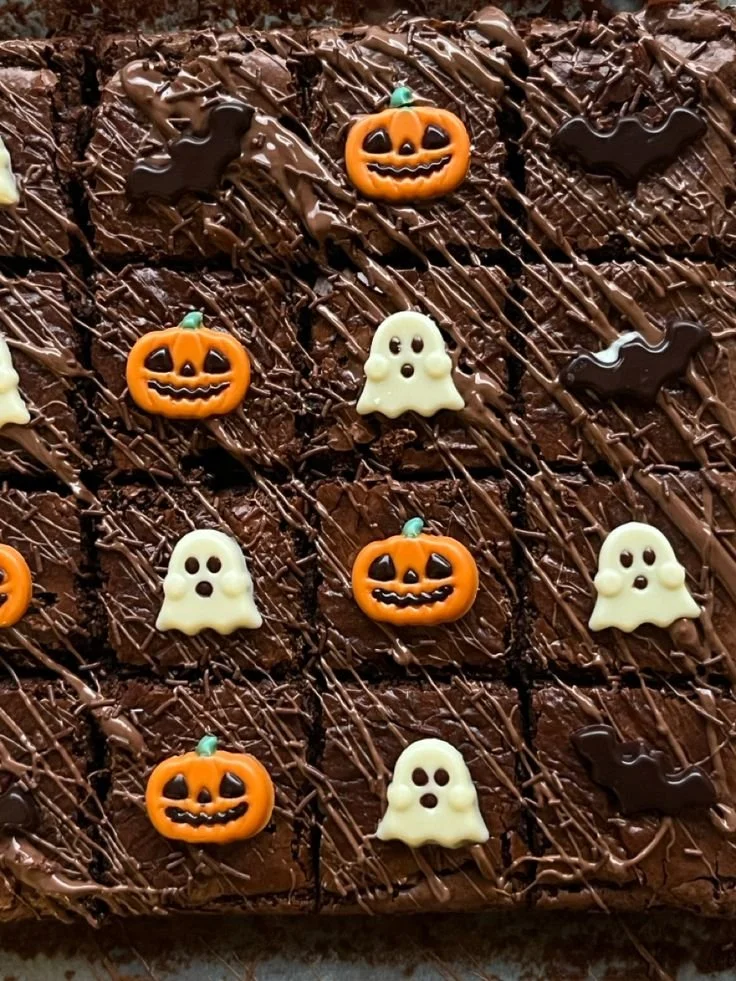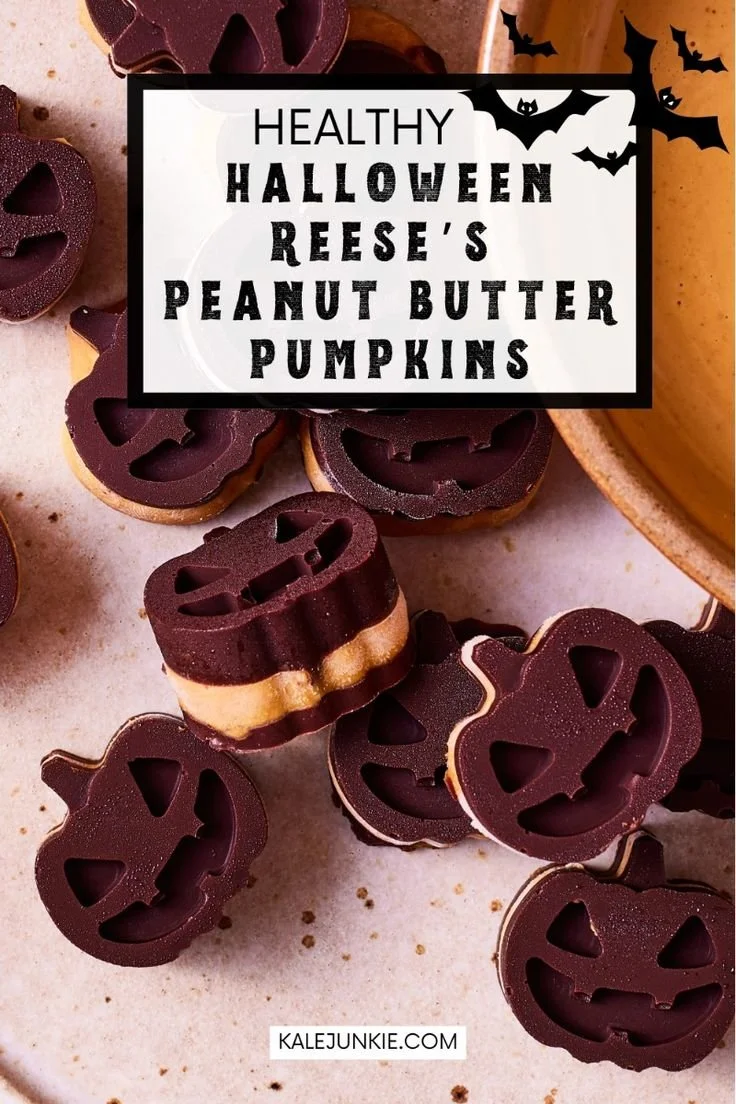
Healthy Halloween Reese’s Peanut Butter Pumpkins are a delightful treat that combines the rich flavor of chocolate with a creamy peanut butter center, all while being a healthier option for your Halloween festivities. These adorable pumpkin-shaped bites are easy to make and a fun project to involve the kids. Whether you’re looking for a light dessert or a special snack, this recipe captures the essence of Halloween while keeping things tasty and nutritious.
Why You’ll Love Healthy Halloween Reese’s Peanut Butter Pumpkins
- Quick and Easy: This recipe requires minimal ingredients and can be made in less than an hour, making it perfect for busy schedules.
- Family Friendly: Kids will love helping out with shaping the pumpkins and dipping them in chocolate, creating a fun family activity.
- Healthier Alternative: Made with powdered peanut butter and coconut oil, these treats offer a healthier twist on traditional chocolate snacks.
- Customizable Shapes: While they resemble pumpkins for Halloween, you can easily shape them into any form you like for other occasions.
- No Baking Required: Skip the oven while still enjoying a delicious treat that satisfies your sweet tooth.
Recipe Overview
- Prep Time: 15 minutes
- Cook Time: 10 minutes
- Total Time: 25 minutes
- Servings: 12 small pumpkins
- Difficulty Level: Easy
Ingredients You’ll Need for Healthy Halloween Reese’s Peanut Butter Pumpkins
- Chocolate Chips: 1 cup (semi-sweet or dark chocolate works best)
- Coconut Oil: 1 tablespoon (adds smoothness to the chocolate)
- Powdered Peanut Butter: 1 cup (provides rich peanut flavor with less fat)
- Water: 3-4 tablespoons (to achieve the desired peanut butter consistency)
(Always add 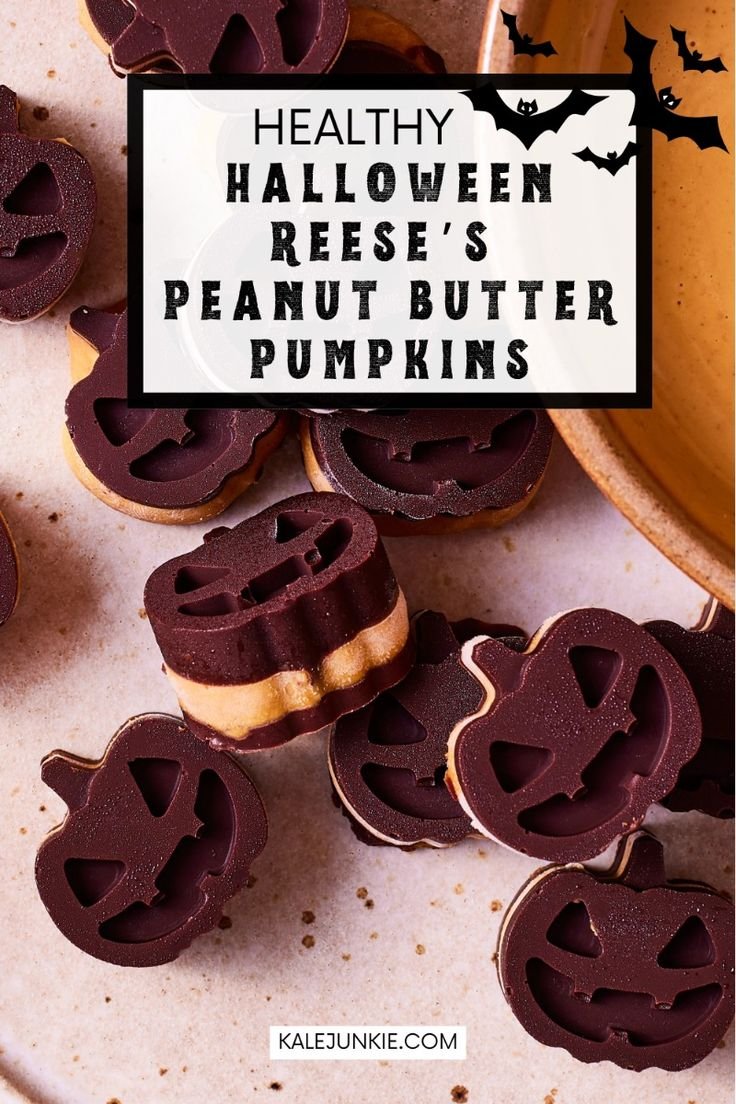
here)
How to Make Healthy Halloween Reese’s Peanut Butter Pumpkins
-
Melt the Chocolate: In a microwave-safe bowl, combine the chocolate chips and coconut oil. Heat in 20-second intervals, stirring in between until smooth and fully melted.
-
Prepare the Peanut Butter Mixture: In a separate mixing bowl, combine the powdered peanut butter with water. Stir until it reaches a creamy, spreadable consistency similar to traditional peanut butter.
-
Shape the Pumpkins: Using your hands, take small portions of the peanut butter mixture and roll them into pumpkin shapes. Aim for small balls with a rounded top.
-
Dip in Chocolate: Carefully dip each peanut butter pumpkin into the melted chocolate mixture, ensuring they are fully coated.
-
Cool on Baking Sheet: Place the chocolate-coated pumpkins on a baking sheet lined with parchment paper. Allow them to sit until the chocolate hardens, about 15 minutes.
-
Serve and Enjoy: Once set, transfer the Healthy Halloween Reese’s Peanut Butter Pumpkins to a serving plate and enjoy your festive treats!
Tips for Success
- Chop Chocolate Chips: If you prefer, chop chocolate chips into smaller pieces for easier melting.
- Avoid Overheating: Be cautious when melting chocolate; overheating can cause it to seize. Stir frequently and remove from heat once it’s almost melted.
- Use Cold Water: If you want a thicker peanut butter consistency, use cold water when mixing the powdered peanut butter.
- Keep Shapes Uniform: For even cooking and chocolate coating, try to keep your pumpkin shapes uniform in size.
- Let Chocolate Set: Ensure the chocolate is completely set before removing them from the parchment paper to avoid sticky messes.
Easy Variations
- Add Spice: Mix in a pinch of cinnamon or pumpkin spice into the peanut butter mixture for a seasonal flavor boost.
- Dotted Decorations: Use mini chocolate chips or candy eyes to decorate your pumpkins and give them personality.
- Nut Butter Swap: Substitute the powdered peanut butter with almond or cashew butter for a different flavor profile.
- Dark Chocolate Coat: For more intense flavor, use dark chocolate instead of semi-sweet chocolate.
- Bite-Sized Treats: Roll the mixture into smaller balls instead of pumpkin shapes for quick, easy treats.
What to Serve with Healthy Halloween Reese’s Peanut Butter Pumpkins
- Apple Slices: Fresh apple slices provide a crunchy contrast and can be dipped in the leftover chocolate.
- Vanilla Yogurt: Serve with a side of vanilla yogurt for a creamy and refreshing accompaniment.
- Pumpkin Spice Latte: Pair these pumpkins with a warm pumpkin spice latte for a cozy fall experience.
- Nut Mix: A sprinkle of mixed nuts adds a crunchy texture and balances the sweetness.
- Cheese Platter: A selection of cheeses will complement the sweet treats very well, creating a balanced snack board.
Storage and Reheating
- Refrigerator Storage: Keep your pumpkins in an airtight container in the refrigerator for up to one week.
- Freezer Storage: Store in the freezer for longer periods. They can last up to three months. Note that texture may change upon thawing.
- Reheating Method: These treats are best enjoyed chilled or at room temperature; avoid reheating as chocolate can become discolored.
- Preserve Texture: For optimal texture, keep them separated with parchment paper if stacking in a container.
- Meal Prep Note: These make great make-ahead snacks for parties or lunches.
Common Mistakes to Avoid
- Overmixing the Peanut Butter: Be careful not to overmix the peanut butter mixture, which can cause it to become too runny.
- Skipping the Coconut Oil: Don’t skip the coconut oil; it helps the chocolate coat smoothly and gives it a nice sheen.
- Inconsistent Sizes: Make sure all pumpkin shapes are similar in size for even coating and presentation.
- Not Cooling Enough: Allow enough time for the chocolate to set completely; otherwise, your pumpkins may lose their shape.
- Ignoring Clean Tools: Ensure your mixing bowls and utensils are completely clean and free from moisture for best results.
Healthy Halloween Reese’s Peanut Butter Pumpkins: Background & Cultural Inspiration
The concept of combining chocolate and peanut butter dates back to the early 20th century, gaining popularity with the introduction of Reese’s Peanut Butter Cups in the 1920s. However, this recipe offers a fresher, healthier twist on the classic, making it ideal for those seeking both indulgence and health consciousness. The festive pumpkin shape not only embodies the spirit of Halloween but also encourages creativity and fun in the kitchen during this seasonal celebration. These pumpkins serve as a reminder that enjoying sweets can also mean making healthier choices.
Frequently Asked Questions
Can I use regular peanut butter instead of powdered?
Yes, but it will alter the texture and make the mixture more oily. Adjust the amount of water accordingly.
How long do these pumpkins last?
These treats can be stored in the refrigerator for up to one week or in the freezer for up to three months.
Can I make these ahead of time?
Absolutely! They’re perfect for meal prep and can be made a few days in advance.
Is there a nut-free option?
You could experiment with sunflower seed butter or a similar nut-free alternative, but it may change the flavor.
What if the chocolate hardens too quickly?
If the chocolate hardens, you can reheat it gently in the microwave for a few seconds to soften it again.
Final Thoughts
Healthy Halloween Reese’s Peanut Butter Pumpkins are a charming and satisfying treat that brings fun to your Halloween gatherings without compromising on health. Easy to make and delightful to eat, these treats are sure to impress kids and adults alike. Whether you’re celebrating a spooky party or simply indulging yourself, give this recipe a try for a joyful and guilt-free Halloween!
PrintHealthy Halloween Reese’s Peanut Butter Pumpkins
Delightful pumpkin-shaped treats combining chocolate and a creamy peanut butter center, offering a healthier option for Halloween festivities.
- Prep Time: 15 minutes
- Cook Time: 10 minutes
- Total Time: 25 minutes
- Yield: 12 servings
- Category: Snack
- Method: No Baking
- Cuisine: American
- Diet: Vegetarian
Ingredients
- 1 cup Chocolate Chips (semi-sweet or dark)
- 1 tablespoon Coconut Oil
- 1 cup Powdered Peanut Butter
- 3-4 tablespoons Water
Instructions
- Melt the chocolate: In a microwave-safe bowl, combine the chocolate chips and coconut oil. Heat in 20-second intervals, stirring in between until smooth and fully melted.
- Prepare the peanut butter mixture: In a separate mixing bowl, combine the powdered peanut butter with water. Stir until it reaches a creamy, spreadable consistency.
- Shape the pumpkins: Using your hands, take small portions of the peanut butter mixture and roll them into pumpkin shapes.
- Dip in chocolate: Carefully dip each peanut butter pumpkin into the melted chocolate mixture, ensuring they are fully coated.
- Cool on baking sheet: Place the chocolate-coated pumpkins on a baking sheet lined with parchment paper. Allow them to sit until the chocolate hardens, about 15 minutes.
- Serve and enjoy: Once set, transfer the pumpkins to a serving plate and enjoy your festive treats!
Notes
For a different flavor, you can substitute powdered peanut butter with almond or cashew butter. Use mini chocolate chips or candy eyes to decorate.