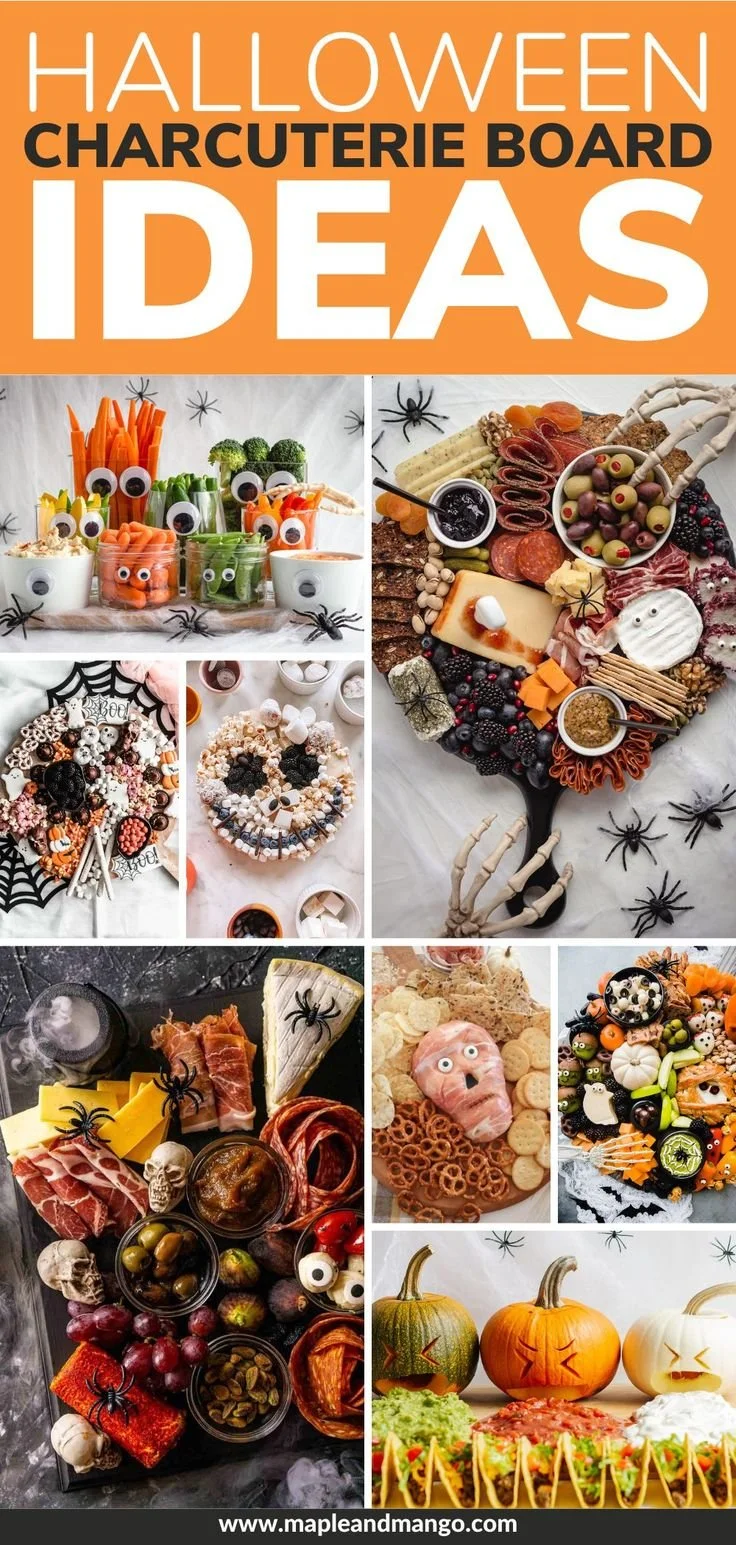
Crafting a Halloween Cheese Board is a delightful way to celebrate the season with friends and family. This enjoyable and festive spread combines a variety of cheeses, colorful fruits, and spooky decorations, making it not only a treat for the taste buds but also a feast for the eyes. With just a little preparation, you can create an exciting centerpiece that’s perfect for any gathering.
Why You’ll Love Halloween Cheese Board
- Easy to Assemble: No cooking is required, making this a quick option for even the busiest hosts.
- Customizable: Use your favorite cheeses and accompaniments to create a personalized board that suits everyone’s tastes.
- Visually Appealing: The vibrant colors of the fruits, vegetables, and unique decorations make for a stunning presentation.
- Great for Sharing: Perfect for gatherings, this board encourages interaction and sharing among guests.
- Kid-Friendly Fun: Involve children in the decorating process for a fun activity that gets them excited about healthy snacking.
Recipe Overview
- Prep Time: 15 minutes
- Cook Time: 0 minutes
- Total Time: 15 minutes
- Servings: 8-10
- Difficulty Level: Easy
Ingredients You’ll Need for Halloween Cheese Board
- Assorted Cheeses:
- Cheddar: Provides a sharp flavor and creamy texture.
- Brie: Offers a rich, buttery taste.
- Gouda: Adds a nutty dimension to the variety.
- Crackers: Choose a mix of textures, such as water crackers and whole grain.
- Fresh Fruit:
- Grapes: Easy to grab and sweet for contrast.
- Apple slices: Crisp and refreshing.
- Dried figs: Chewy and sweet for added depth.
- Vegetables:
- Carrots: Crunchy and sweet, cut into sticks for easy dipping.
- Celery sticks: Cool and crisp, they add a refreshing crunch.
- Nuts:
- Almonds: Offer a hearty crunch.
- Walnuts: Their rich flavor pairs well with cheese.
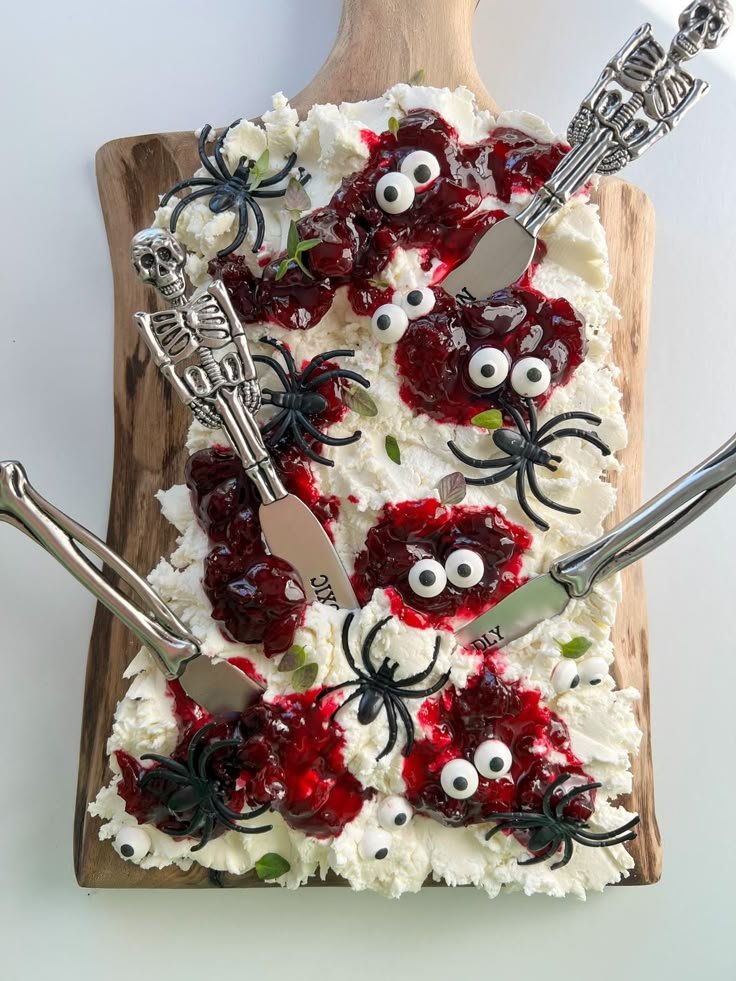
- Spooky Decorations: Add plastic spiders or Halloween-themed toothpicks to enhance the festive spirit.
How to Make Halloween Cheese Board
- Prepare the Cheese: Choose a variety of cheeses that you enjoy and arrange them on a large serving board. Consider cutting some into slices or wedges for easy serving.
- Add Crackers: Scatter a selection of crackers around the cheeses to create a balanced look and ensure everyone has something to enjoy with their cheese.
- Incorporate Fresh Fruit: Fill in the spaces with fresh fruit, including grapes and apple slices. You can add some dried figs for a chewy texture contrast.
- Include Vegetables: Add crunchy vegetables like carrots and celery sticks for a refreshing option that pairs well with the rich flavors of the cheese.
- Sprinkle in Nuts: Disperse nuts such as almonds and walnuts in any empty spots to provide additional flavor and texture.
- Decorate the Board: Finish your setup by adding fun, spooky decorations like plastic spiders or Halloween-themed toothpicks. This adds an extra layer of excitement for your guests.
Tips for Success
- Choose Varieties: When selecting cheeses, opt for a mix of flavors and textures to keep everyone engaged.
- Presentation Matters: Arrange the board in a visually appealing way. Group similar items together and consider color contrast for a more inviting look.
- Keep It Cool: If preparing the board in advance, keep it refrigerated until ready to serve to ensure the cheese stays fresh and safe to eat.
- Portion Control: Consider the number of guests and prepare enough to avoid running out, but also avoid over-preparing to limit waste.
- Flavor Pairing: Experiment with different flavor combinations to see what pairs best with the cheeses on your board.
Easy Variations
- Add Charcuterie: Incorporate a selection of cured meats like salami or prosciutto for a heartier option.
- Swap in Seasonal Produce: Use pumpkin slices or candy corn for a festive touch during Halloween.
- Vegan Option: Use plant-based cheeses and keep all accompaniments vegetarian-friendly.
- Spice It Up: Include spicy crackers or add a drizzle of honey over the cheese for a sweet and spicy experience.
- Serve with Dips: Offer a hummus or a yogurt-based dip alongside for added variety.
What to Serve with Halloween Cheese Board
- Wine: A light red wine such as Pinot Noir enhances the flavors of the cheeses.
- Sparkling Cider: A non-alcoholic option that adds festive flair and pairs well with cheese.
- Vegetable Chips: These add a different texture and make a great crunchy companion.
- Dark Chocolate: A few pieces of high-quality dark chocolate wouldn’t hurt; it goes beautifully with cheese.
- Fruit Punch: A refreshing drink option that complements the board’s sweet and savory elements.
Storage and Reheating
- Refrigerator Storage: Cover the cheese board with plastic wrap and store it in the fridge. It’s best consumed within a few hours of assembling to enjoy its freshness.
- Freezer Storage: Cheese boards are not recommended for freezing due to changes in texture.
- Best Enjoyed Fresh: Reheat leftovers in small increments in the microwave if necessary, but ideal to serve at room temperature.
- Meal Prep Note: You can prepare individual components a day or two in advance and arrange them just before serving.
Common Mistakes to Avoid
- Overloading the Board: Too many items can make it overwhelming. Aim for a good balance of varieties and portion sizes.
- Skipping Texture Variety: Not including crunchy items can lead to a less interesting board. Make sure to feature crackers, nuts, and veggies.
- Neglecting Temperature: Serving cheese that’s too cold can dull its flavors; let it sit out for a bit before serving.
- Not Cleaning the Board: Make sure to clean and sanitize your serving board before using it for food.
- Ignoring Dietary Restrictions: Always check with guests about food allergies or dietary preferences before finalizing your ingredients.
Halloween Cheese Board: Background & Cultural Inspiration
Cheese boards, or charcuterie boards, have their roots in France and are traditionally composed of cured meats and cheeses. Over the years, these boards have evolved into a fun and festive centerpiece for gatherings, incorporating various cultural elements and ingredients. In many countries, serving cheese as part of a social gathering symbolizes hospitality and warmth. During Halloween, this tradition is combined with spooky decorations, transforming the cheese board into a festive treat that celebrates the season’s spirit.
Frequently Asked Questions
Can I make this cheese board in advance?
Yes, you can prepare the individual components ahead of time, but it’s best to assemble the board shortly before serving for optimal freshness.
What types of cheese are best for beginners?
Milder cheeses such as cheddar, gouda, and mozzarella are great choices for beginner cheese boards. They’re widely liked and easily pair with various accompaniments.
How can I make it gluten-free?
Use gluten-free crackers and ensure that any bread or pretzels are also gluten-free before including them on your board.
Can I include dips?
Absolutely! Adding a dip like hummus, pesto, or a savory spread can enhance the flavor profiles of the board.
What if I have leftover cheese?
Wrap any leftover cheese tightly in plastic wrap and store it in the refrigerator. They should be consumed within a few days.
Final Thoughts
Creating a Halloween Cheese Board is a fun and interactive way to celebrate the holiday while delighting your guests with delightful flavors. Its ease of assembly and customizable nature makes it a go-to option for any gathering, making it an essential addition to your party planning. Try it out and enjoy the compliments that come your way for hosting such a delicious spread!
PrintHalloween Cheese Board
A delightful and festive cheese board combining various cheeses, colorful fruits, and spooky decorations, perfect for Halloween gatherings.
- Prep Time: 15 minutes
- Cook Time: 0 minutes
- Total Time: 15 minutes
- Yield: 8-10 servings
- Category: Appetizer
- Method: No cooking required
- Cuisine: French
- Diet: Vegetarian
Ingredients
- Cheddar cheese
- Brie cheese
- Gouda cheese
- Water crackers
- Whole grain crackers
- Grapes
- Apple slices
- Dried figs
- Carrots, cut into sticks
- Celery sticks
- Almonds
- Walnuts
- Plastic spiders or Halloween-themed toothpicks for decoration
Instructions
- Prepare the cheese: Choose a variety of cheeses that you enjoy and arrange them on a large serving board. Consider cutting some into slices or wedges for easy serving.
- Add crackers: Scatter a selection of crackers around the cheeses to create a balanced look and ensure everyone has something to enjoy with their cheese.
- Incorporate fresh fruit: Fill in the spaces with fresh fruit, including grapes and apple slices. You can add some dried figs for a chewy texture contrast.
- Include vegetables: Add crunchy vegetables like carrots and celery sticks for a refreshing option that pairs well with the rich flavors of the cheese.
- Sprinkle in nuts: Disperse nuts such as almonds and walnuts in any empty spots to provide additional flavor and texture.
- Decorate the board: Finish your setup by adding fun, spooky decorations like plastic spiders or Halloween-themed toothpicks. This adds an extra layer of excitement for your guests.
Notes
Keep the cheese board refrigerated until ready to serve for optimal freshness. Involve children in decorating for added fun.