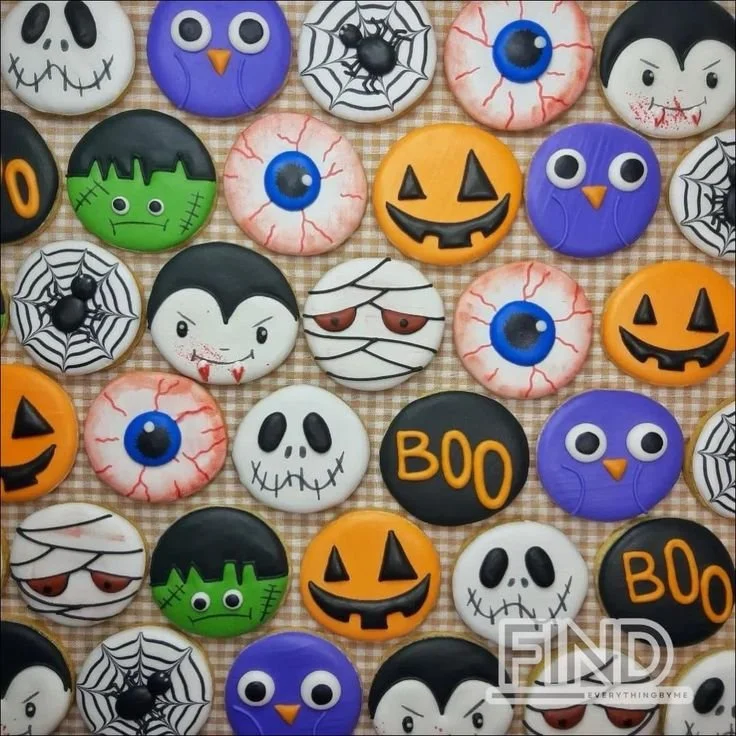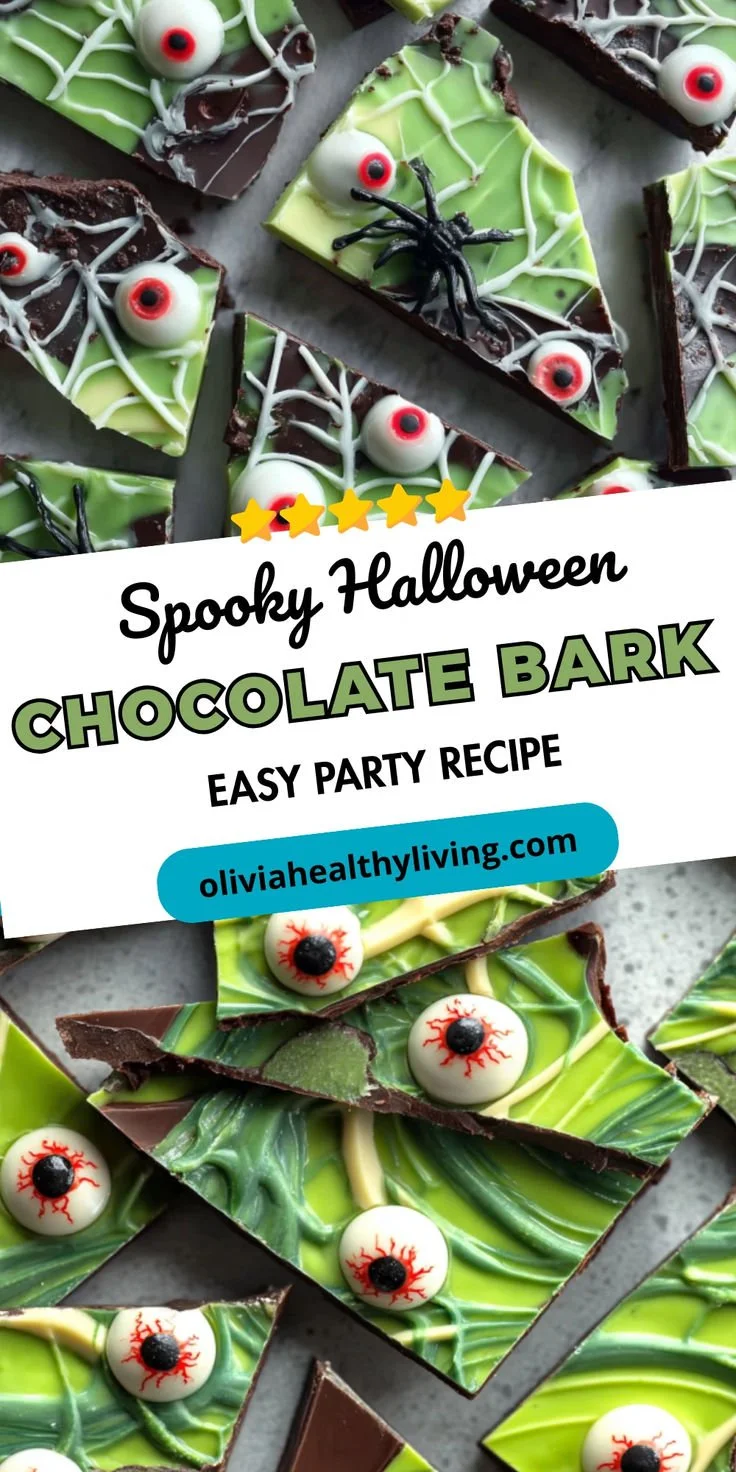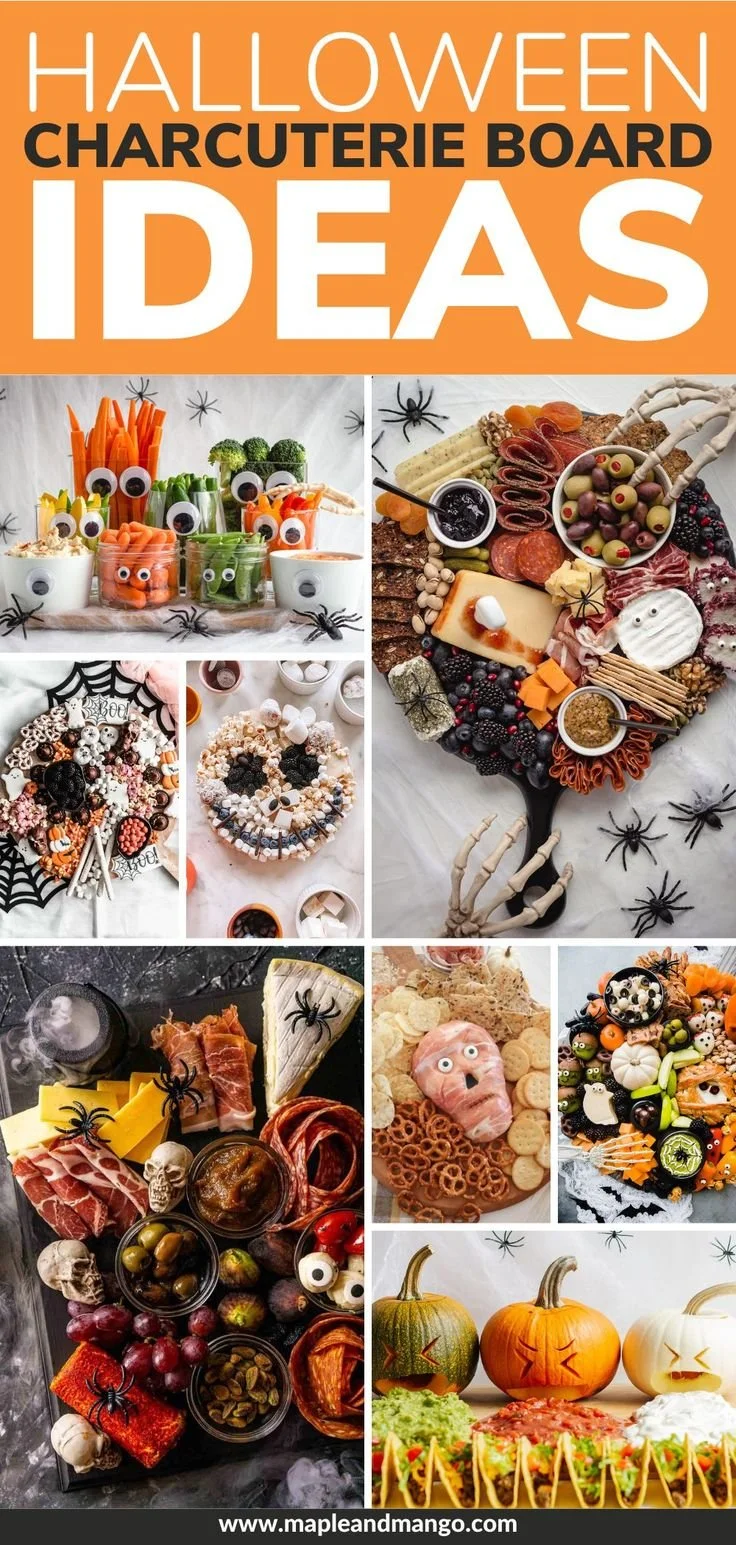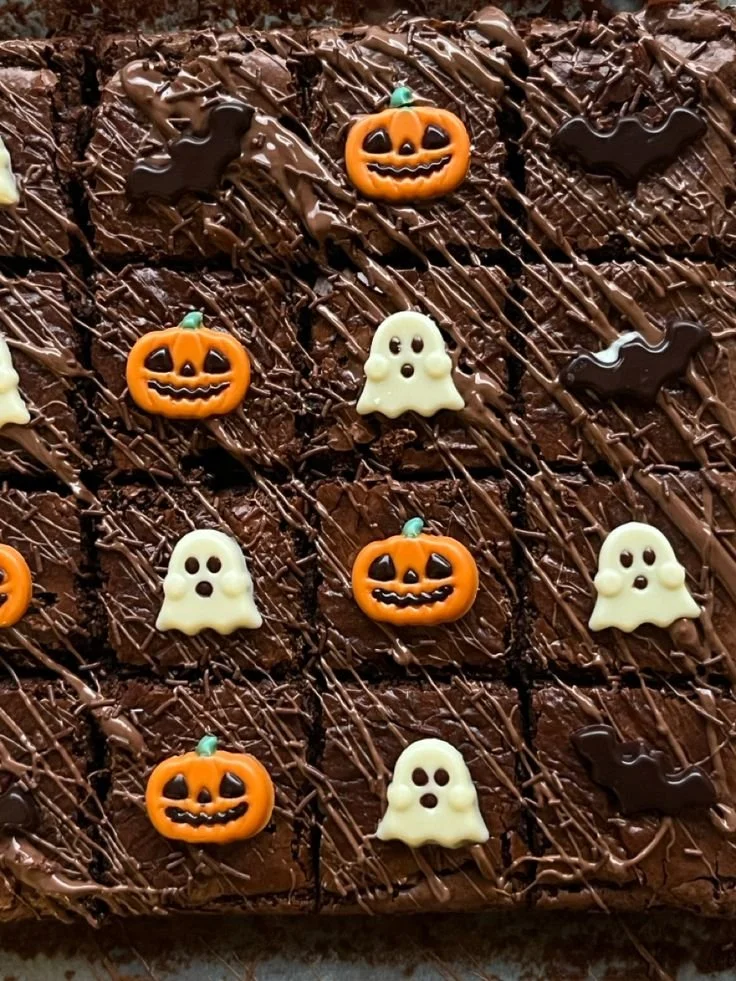
Making Halloween cookies decorated with cute designs is a wonderful way to engage with the festive spirit, and this recipe will help you create cookies that are not only adorable but also delicious. Perfect for gatherings, parties, or just a cozy night in, these cookies are easily customizable and sure to delight everyone, young and old.
Why You’ll Love Halloween Cookies
- Fun and Creative: Decorating Halloween cookies allows you to unleash your creativity. Use colorful icing, sprinkles, and edible decorations to bring your spooky designs to life.
- Great for All Skill Levels: Whether you’re a beginner or an experienced baker, the step-by-step instructions make this recipe easy to follow.
- Perfect for Celebrations: These cookies are perfect for Halloween parties, school events, or simply to enjoy with family while watching a scary movie.
- Customizable: Tailor the flavors and decorations to suit your preferences, whether you prefer classic vanilla or something more adventurous.
- Great Activity for Kids: Involve kids in the decorating process for endless fun, making it a memorable bonding experience.
Recipe Overview
- Prep Time: 30 minutes (plus cooling time)
- Cook Time: 10 minutes per batch
- Total Time: 1 hour (including cooling)
- Servings: About 24 cookies
- Difficulty Level: Easy
Ingredients You’ll Need for Halloween Cookies
For the cookie dough:
- 2 ¾ cups all-purpose flour: The base of your cookies, providing structure.
- 1 teaspoon baking powder: Helps the cookies rise and gives them a fluffy texture.
- ½ teaspoon salt: Enhances flavor.
- 1 cup unsalted butter, softened: Provides richness and ensures a tender cookie.
- 1 cup granulated sugar: Sweetens the cookies, balancing flavors.
- 1 egg: Binds ingredients together.
- 1 teaspoon vanilla extract: Adds a lovely flavor.
For the frosting:
- 3 cups powdered sugar: Creates a sweet and smooth texture for decorating.
- 2 tablespoons milk: Adjusts the consistency of the frosting.
- Food coloring: For adding fun colors to your decorations.
- Sprinkles and edible decorations: Optional, for fun topping.
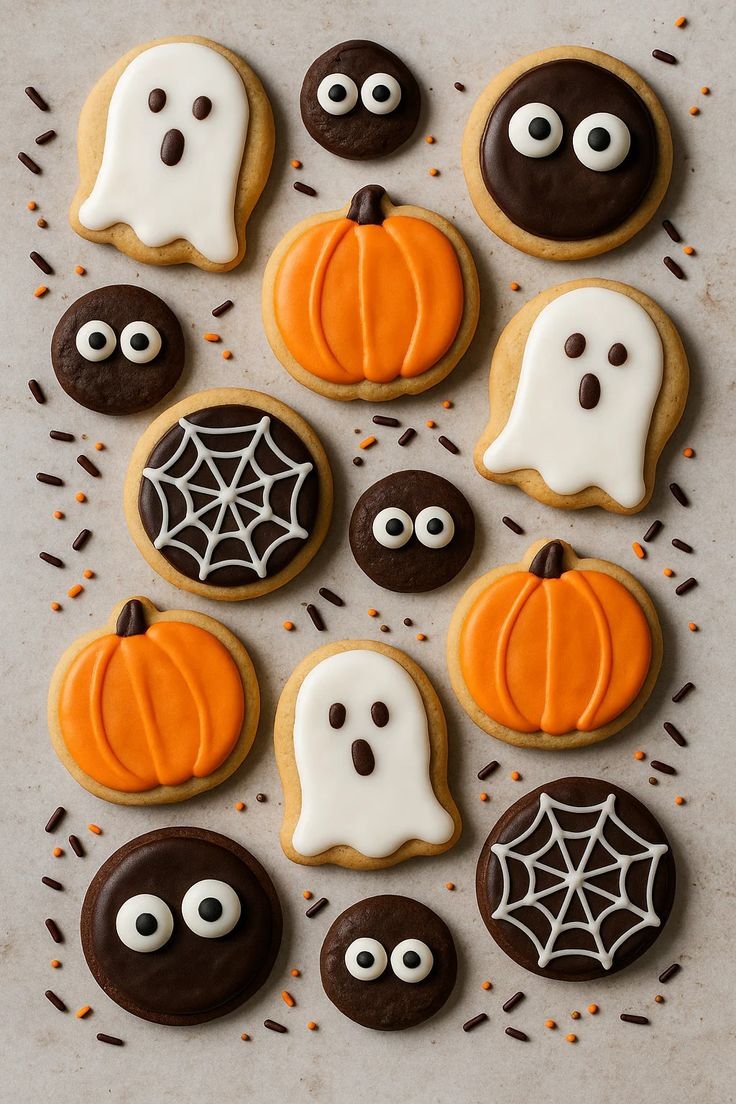
How to Make Halloween Cookies
-
Preheat the Oven: Preheat your oven to 350°F (175°C). This ensures that cookies bake evenly.
-
Mix Dry Ingredients: In a bowl, whisk together the flour, baking powder, and salt. Set aside.
-
Cream Butter and Sugar: In a large mixing bowl, beat the softened butter and granulated sugar together until light and fluffy (about 3-4 minutes). This creates a soft texture.
-
Add Egg and Vanilla: Mix in the egg and vanilla extract until fully incorporated.
-
Combine Mixtures: Gradually add the flour mixture to the butter mixture, mixing until just combined. Avoid overmixing to keep the cookies tender.
-
Chill the Dough: Cover the dough with plastic wrap and chill in the refrigerator for about 30 minutes. This helps the cookies maintain their shape while baking.
-
Shape and Bake Cookies: Roll out the dough on a floured surface to about ¼ inch thick. Cut out shapes using Halloween-themed cookie cutters. Place the cookies on a baking sheet lined with parchment paper. Bake for 8-10 minutes, or until the edges are lightly golden.
-
Cool Cookies: Allow the cookies to cool on the baking sheet for 5 minutes before transferring them to a wire rack to cool completely.
-
Make the Frosting: In a bowl, mix the powdered sugar with milk until smooth. Adjust the consistency with more milk or sugar as needed. Divide into small bowls and add food coloring as desired.
-
Decorate the Cookies: Once the cookies are completely cool, use the colored frosting and sprinkles to decorate your Halloween cookies as you like.
Tips for Success
- Room Temperature Ingredients: Ensure butter and eggs are at room temperature for a smoother batter.
- Chill the Dough: Don’t skip the chilling step; it helps prevent spreading.
- Avoid Overbaking: Keep an eye on the cookies towards the end of baking to avoid a dry texture.
- Decorating Ideas: Use piping bags for detailed designs and let your creativity flow!
- Test Cookie Shapes: Remember that different shapes may bake differently; keep an eye on them.
Easy Variations
- Flavor Variations: Add almond extract instead of vanilla for a different flavor profile.
- Chocolate Cookies: Substitute ½ cup of flour with unsweetened cocoa powder for chocolate-flavored cookies.
- Incorporate Spices: Add 1 teaspoon of cinnamon or nutmeg for a seasonal flavor.
- Gluten-Free Option: Substitute all-purpose flour with a gluten-free flour blend if necessary.
- Classic Icing vs. Royal Icing: For a more traditional approach, royal icing can be easier for decorating but requires egg whites.
What to Serve with Halloween Cookies
- Hot Cocoa: A warm beverage that complements cookies perfectly during chilly autumn nights.
- Milk: A classic pairing for cookies, balancing sweetness.
- Pumpkin Spice Lattes: The seasonal favorite pairs beautifully with the flavor of cookies.
- Halloween-themed beverages: Offer colorful punches or themed drinks for more festive fun.
Storage and Reheating
- Refrigerator Storage: Keep cookies in an airtight container at room temperature for up to a week.
- Freezer Storage: Freeze decorated or undecorated cookies in a single layer, then store in airtight bags for up to 3 months.
- Reheating: Enjoy cookies at room temperature; if frozen, allow them to thaw for a few hours before serving.
Common Mistakes to Avoid
- Skipping Chilling: Avoid flattening cookies by not chilling the dough.
- Overmixing: This can lead to tough cookies; mix minimally when combining wet and dry ingredients.
- Not Greasing Pans: If not using parchment paper, grease the baking sheet to prevent sticking.
- Leaving Cookies Too Long in the Oven: Remove them when they are just starting to brown around the edges.
Halloween Cookies: Background & Cultural Inspiration
Halloween cookies have roots in various cultural traditions, especially in the celebration of All Hallows’ Eve. The practice of baking special treats for this holiday dates back centuries and was often tied to harvest festivals. In addition, cookie decorating became popular in the United States during the 20th century, allowing families to create festive treats together. Today, Halloween cookies are not just a culinary delight but also a fun activity that celebrates creativity and the playful spirit of the holiday.
Frequently Asked Questions
Can I use cookie mix instead of making dough from scratch?
Yes, you can use a cookie mix if you’re short on time. Follow the package instructions for the best results.
How can I adjust the sweetness of the cookies?
Reduce the sugar by ¼ cup if you prefer less sweet cookies. However, keep in mind this may alter the texture.
Can I make the dough ahead of time?
Absolutely! You can prepare the dough up to a week in advance and store it in the refrigerator.
What if my icing is too thick or too thin?
If your icing is too thick, add a few drops of milk until it reaches your desired consistency. If too thin, add powdered sugar gradually until it thickens.
How can I ensure even baking?
Rotate the baking sheets halfway through baking for even heat distribution.
Final Thoughts
These Halloween cookies decorated with cute designs offer a joyful way to celebrate the holiday with family and friends. They are not only delicious but also a canvas for creativity and fun. Make a batch for your next gathering, and you’ll surely spread some festive cheer. Happy baking!
PrintHalloween Cookies

Fun and creative Halloween cookies that are easily customizable and perfect for celebrations.
- Prep Time: 30 minutes
- Cook Time: 10 minutes
- Total Time: 60 minutes
- Yield: 24 cookies
- Category: Dessert
- Method: Baking
- Cuisine: American
- Diet: Vegetarian
Ingredients
- 2 ¾ cups all-purpose flour
- 1 teaspoon baking powder
- ½ teaspoon salt
- 1 cup unsalted butter, softened
- 1 cup granulated sugar
- 1 egg
- 1 teaspoon vanilla extract
- 3 cups powdered sugar (for frosting)
- 2 tablespoons milk (for frosting)
- Food coloring (for decorations)
- Sprinkles and edible decorations (optional)
Instructions
- Preheat the oven to 350°F (175°C).
- Mix the flour, baking powder, and salt in a bowl.
- Cream the butter and sugar together until light and fluffy.
- Add the egg and vanilla extract, mixing well.
- Combine the flour mixture into the butter mixture until just incorporated.
- Chill the dough for about 30 minutes in the refrigerator.
- Shape and cut out cookies with Halloween-themed cookie cutters.
- Bake for 8-10 minutes until edges are lightly golden.
- Cool on baking sheet for 5 minutes then transfer to a wire rack.
- Make the frosting by mixing powdered sugar and milk until smooth, adding food coloring as desired.
- Decorate cookies with frosting and sprinkles once cooled.
Notes
Room temperature ingredients yield a smoother batter. Chilling the dough helps prevent spreading.