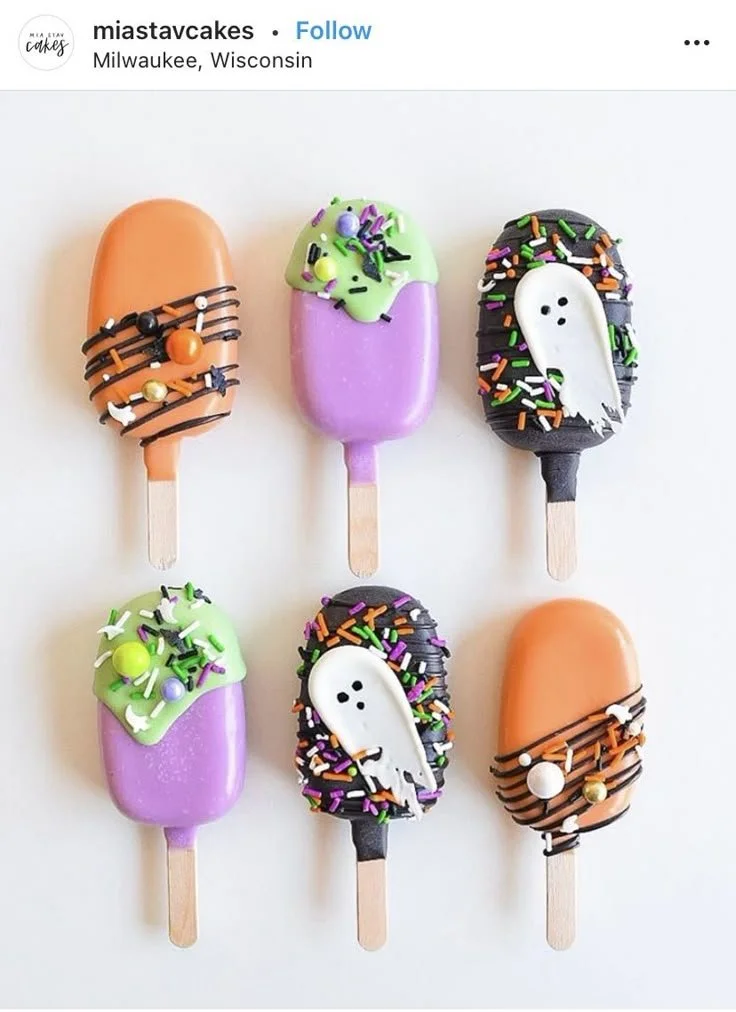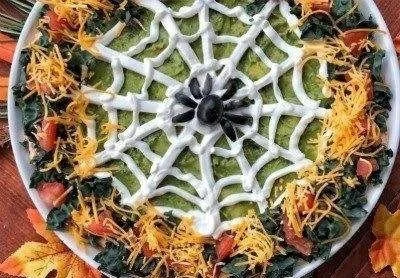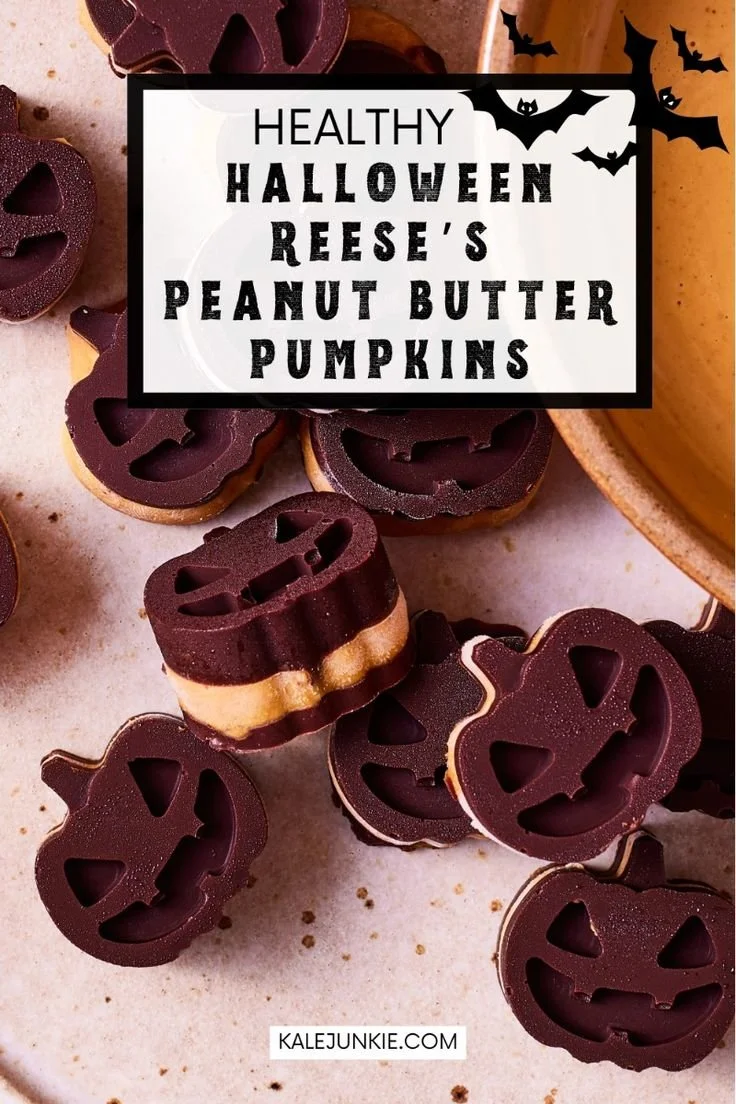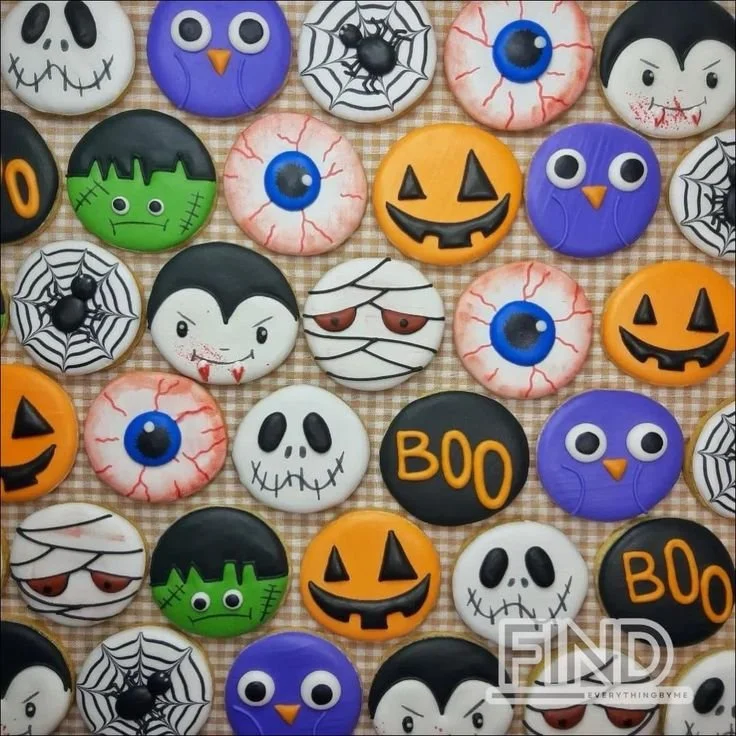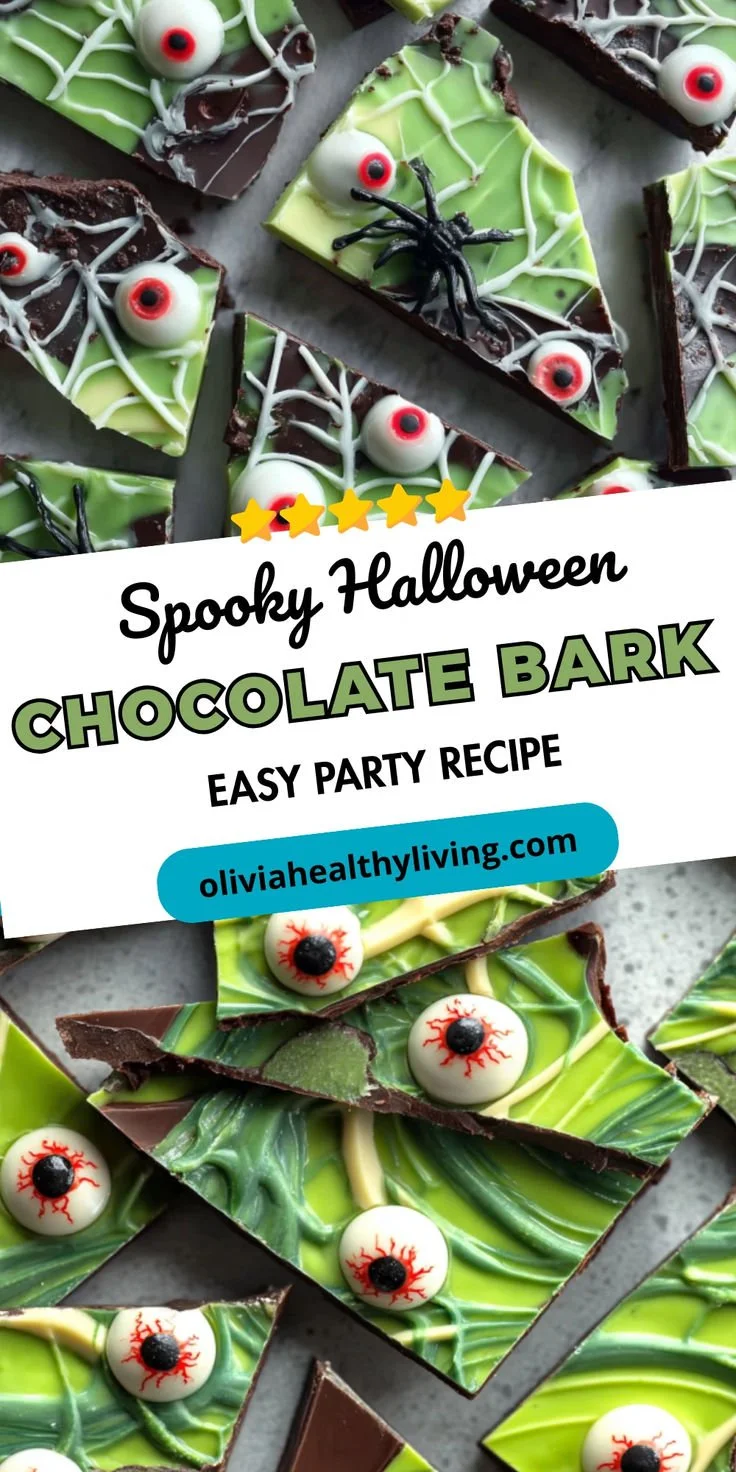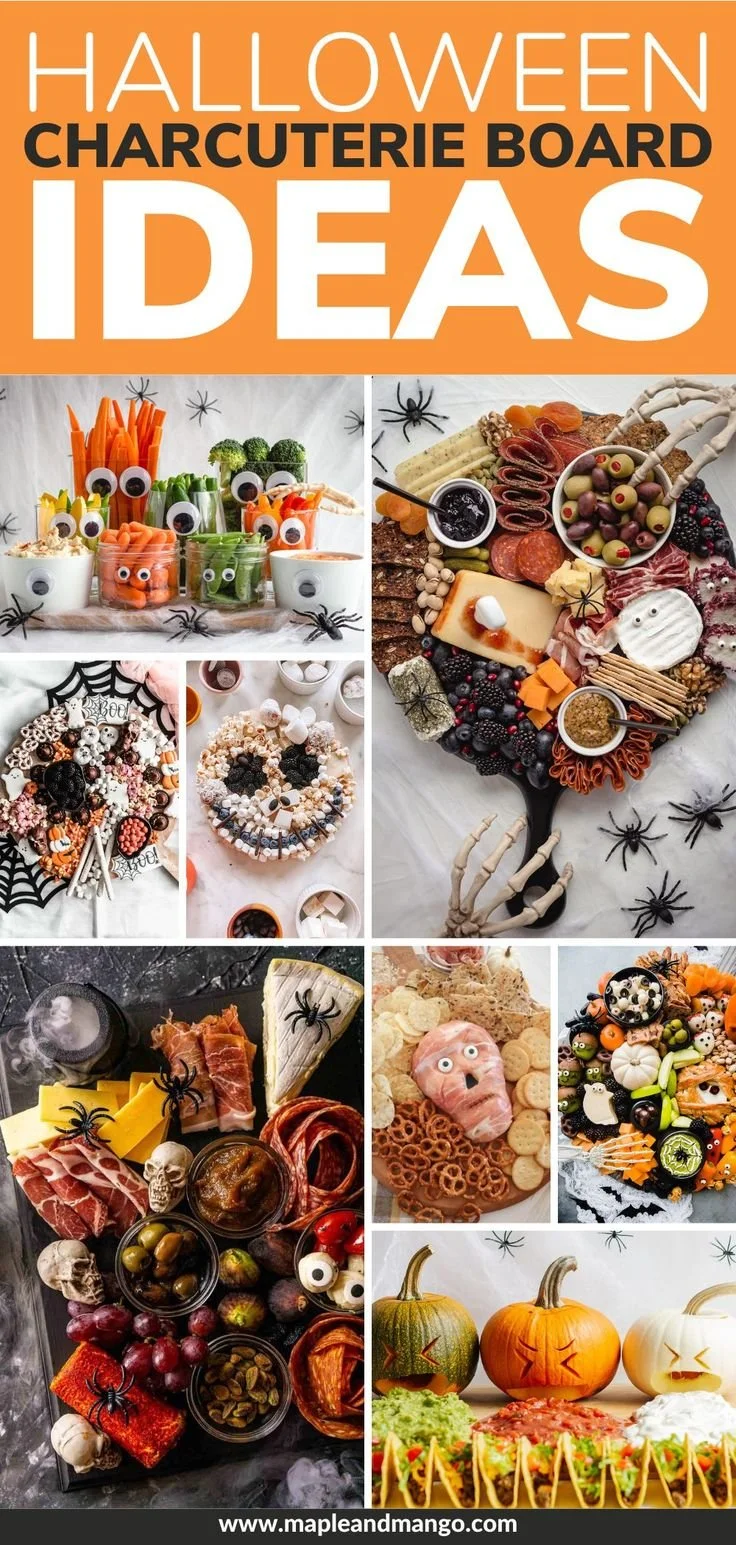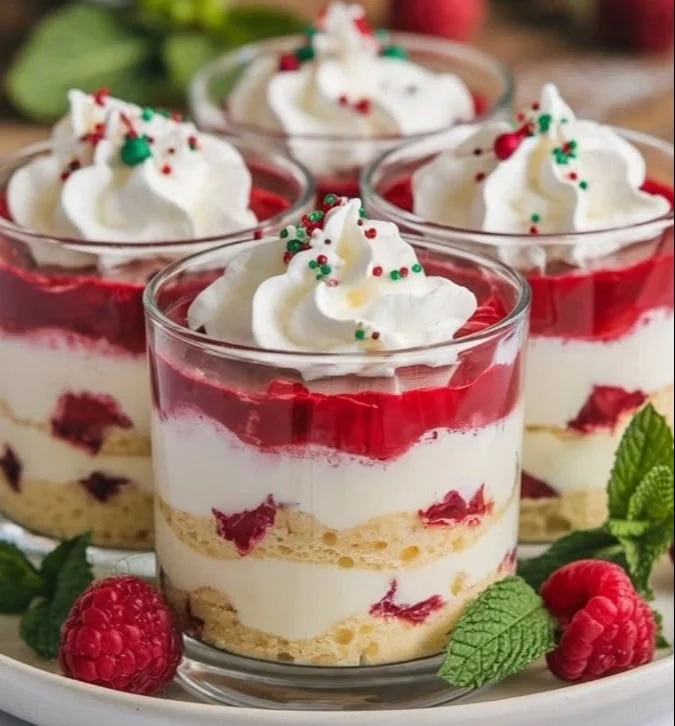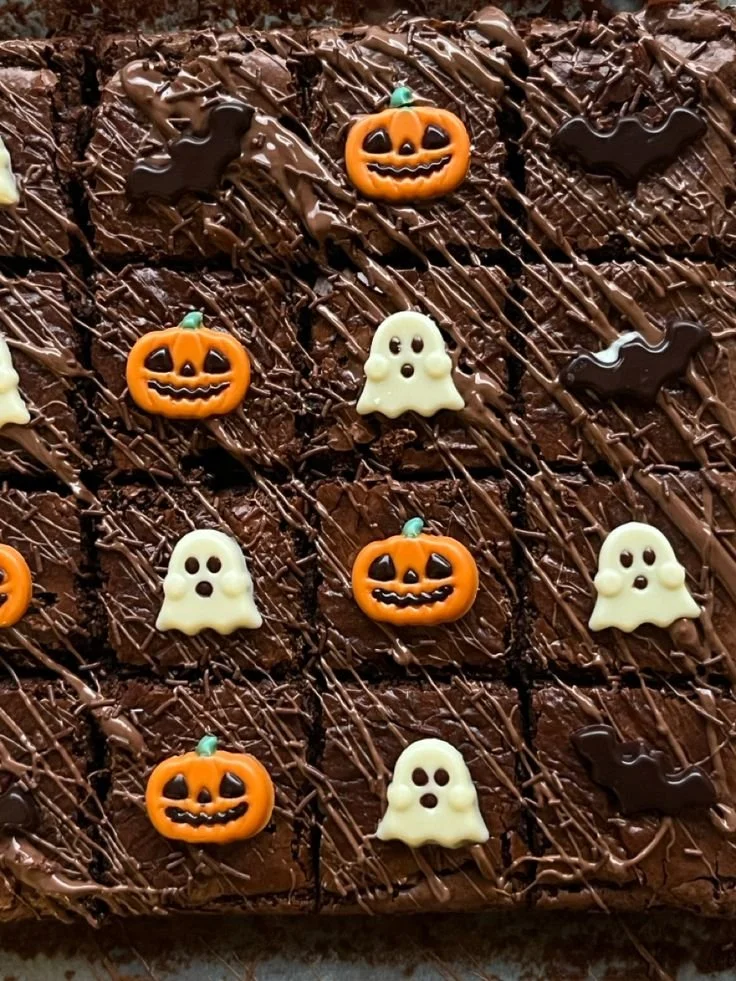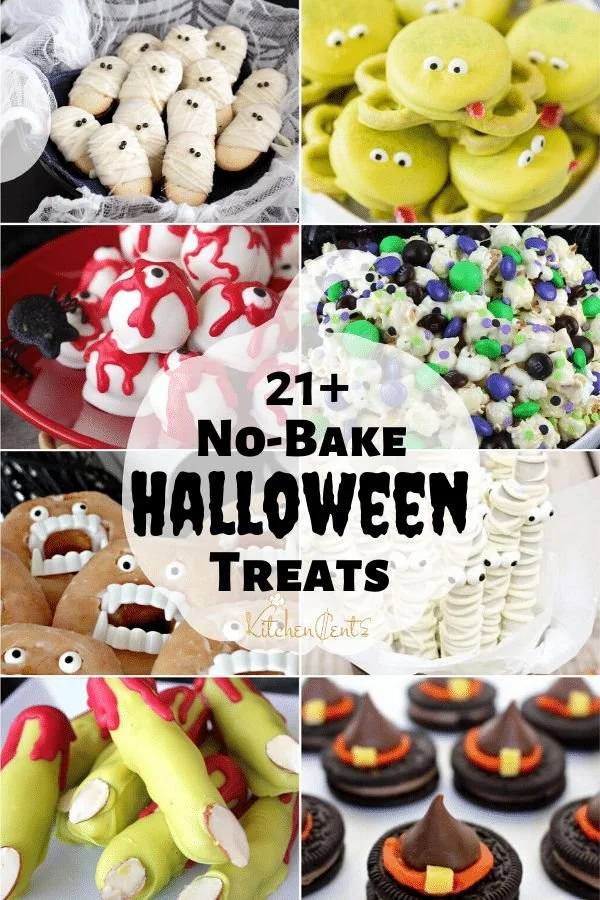
Making No-Bake Halloween Treats is a delightful way to celebrate the spooky season without turning on the oven. These treats are not only simple to prepare, but they also come together quickly, making them perfect for busy families and festivities. With a crunchy texture and a hint of sweetness, they are sure to be a hit with kids and adults alike.
Why You’ll Love No-Bake Halloween Treats
- Quick Preparation: With just a few simple steps, these treats can be ready in no time, making them ideal for last-minute parties or gatherings.
- Fun for Kids: Involving kids in the kitchen is easy and exciting with these treats. From stirring to sprinkling, they can participate in the creation process.
- Customizable: You can easily vary the ingredients to suit your family’s preferences, from swapping out candy to adjusting sweetness levels.
- Festively Themed: The Halloween theme shines through with the addition of candy corn and sprinkles, making them a festive centerpiece for your celebrations.
- No Baking Required: Forget about turning on the oven! This recipe keeps things cool and convenient, which is especially appreciated during the warm fall days.
Recipe Overview
- Prep Time: 15 minutes
- Cook Time: 0 minutes
- Total Time: 15 minutes
- Servings: 12 bars
- Difficulty Level: Easy
Ingredients You’ll Need for No-Bake Halloween Treats
- 1 cup chocolate chips: For a rich, sweet layer. You can use milk, semi-sweet, or dark chocolate based on your preference.
- 1 cup peanut butter: This adds creaminess and ties the ingredients together. Creamy or crunchy peanut butter works well.
- 3 cups rice cereal: Adds crunch and texture. You can substitute with gluten-free cereal if needed.
- Candy corn: A fun, festive candy that gives these treats a Halloween spirit.
- Halloween sprinkles: For a colorful touch on top, adding extra fun and visual appeal.
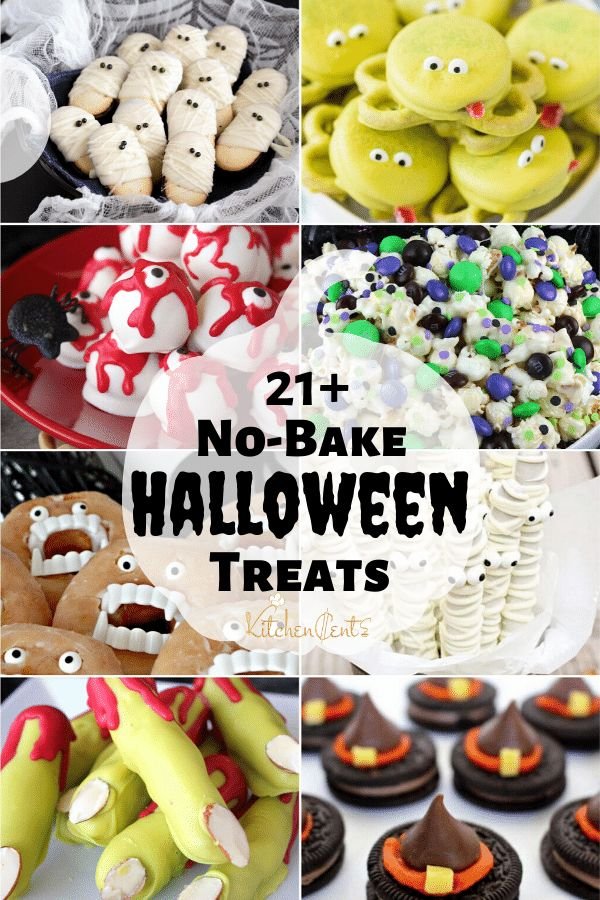
here
How to Make No-Bake Halloween Treats
- Melt Chocolate and Peanut Butter: In a microwave-safe bowl, combine chocolate chips and peanut butter. Heat in 30-second intervals, stirring in between, until smooth and fully melted.
- Add Rice Cereal: Stir in the rice cereal gently until all pieces are well coated with the chocolate-peanut butter mixture.
- Press Into Dish: Transfer the mixture into a greased 9×9-inch baking dish or a similar-sized pan. Press down firmly to create an even layer.
- Refrigerate: Place the dish in the refrigerator to let the mixture set for about 30 minutes. It should be firm to the touch when ready.
- Top and Cut: Once set, remove from the refrigerator and sprinkle with candy corn and Halloween sprinkles. Cut into bars or squares for serving.
Tips for Success
- Proper Melting: Be careful not to overheat the chocolate; stirring frequently will help achieve a smooth texture.
- Press Firmly: Make sure to press the mixture down well into the dish to create solid bars that hold their shape.
- Chill Completely: Let the treats chill long enough to harden. If they’re too soft, they may not cut well.
- Experiment with Add-ins: Feel free to add other candies or nuts that you enjoy, just adjust the amounts to maintain the texture.
- Use Parchment Paper: Lining the baking dish with parchment paper makes it easier to lift out the treats once set.
Easy Variations
- Chocolate Flavors: Swap out the chocolate chips for white chocolate or butterscotch chips for a different flavor experience.
- Nut Butter Options: Use almond or cashew butter for a nutty twist.
- Add Dried Fruit: Incorporate dried cranberries or raisins for a chewy texture.
- Oreo Crumble: Crush some Oreos and fold them into the mixture for a cookies-and-cream flavor.
- Spicy Kick: Mix in a pinch of cinnamon or a sprinkle of cayenne pepper in your chocolate layer for a surprising twist.
What to Serve with No-Bake Halloween Treats
- Hot Chocolate: A warm cup of hot chocolate complements these sweet treats perfectly, enhancing the cozy vibe.
- Pumpkin Spice Latte: The flavors of fall shine through with this popular beverage, making it an ideal pairing for Halloween treats.
- Fruit Salad: A fresh fruit salad balances the sweetness of the treats and adds a healthy twist to your spread.
- Popcorn: A bowl of popcorn seasoned with Halloween spices offers a crunchy, savory counterpoint.
- Ice Cream: Top off these treats with a scoop of vanilla or pumpkin ice cream for an indulgent dessert experience.
Storage and Reheating
- Refrigerator Storage: Store leftover treats in an airtight container in the refrigerator for up to one week.
- Freezer Storage: If you want to keep them longer, wrap the bars individually in plastic wrap and place them in a freezer-safe bag for up to 3 months.
- Best Reheating Method: These treats can be enjoyed cold, but if you prefer a warm treat, microwave for a few seconds to soften before eating.
- Preserving Texture: To maintain crispness, avoid storing these in humid conditions and keep the container sealed tightly.
- Meal Prep Note: These no-bake treats are excellent for making ahead of time for Halloween parties or school events.
Common Mistakes to Avoid
- Overheating Chocolate: Watch your chocolate closely to prevent it from burning; melted chocolate should be smooth and shiny.
- Not Chilling Enough: Skip the fridge, and your bars may not hold their shape when cut.
- Inaccurate Measurements: Make sure to measure your ingredients properly for the best results, especially the rice cereal.
- Rushing the Process: Give yourself enough time for each step, especially when pressing the mixture and allowing it to set.
- Forgetting to Grease the Pan: Always grease or line the baking dish, or you’ll have a tougher time getting your bars out.
No-Bake Halloween Treats: Background & Cultural Inspiration
No-bake desserts have been a popular way to create sweet treats without the hassle of baking. The combination of chocolate and peanut butter is a classic pairing that many people adore. Incorporating seasonal elements, like candy corn and Halloween sprinkles, adds a playful twist that captures the spirit of the holiday. These treats not only bring joy to homes during Halloween but also allow families to create memorable moments together in the kitchen.
Frequently Asked Questions
Can I make these treats dairy-free?
Yes! Use dairy-free chocolate chips and a nut or seed butter that is also free from dairy.
How long do the treats last?
When stored in an airtight container in the refrigerator, they can last about a week.
Can I skip the candy corn?
Absolutely! Feel free to substitute with another favorite candy or leave them out entirely.
Can I make these treats vegan?
Yes! Choose vegan chocolate chips and plant-based peanut butter to make these treats vegan-friendly.
What if my mixture is too crumbly?
If the mixture feels too crumbly, try adding a bit more melted peanut butter or chocolate to help bind it together.
Final Thoughts
No-Bake Halloween Treats are a fun and easy way to celebrate the spooky season. With a handful of simple ingredients and minimal prep work, you can create delightful bars that everyone will love. Perfect for kids and adults alike, they’re a festive addition to any Halloween gathering. Try making these treats and enjoy the smiles they bring to your table!
PrintNo-Bake Halloween Treats

A festive and easy treat for Halloween, made with chocolate, peanut butter, and rice cereal, perfect for busy families.
- Prep Time: 15
- Total Time: 15
- Yield: 12 bars
- Category: Dessert
- Method: No Bake
- Cuisine: American
- Diet: Vegetarian
Ingredients
- 1 cup chocolate chips
- 1 cup peanut butter
- 3 cups rice cereal
- Candy corn
- Halloween sprinkles
Instructions
- Melt chocolate and peanut butter in a microwave-safe bowl, heating in 30-second intervals until smooth.
- Add rice cereal and stir gently until coated.
- Press mixture into a greased 9×9-inch dish.
- Refrigerate for about 30 minutes until set.
- Top with candy corn and sprinkles, then cut into bars.
Notes
Make sure to not overheat the chocolate and press the mixture firmly into the dish.