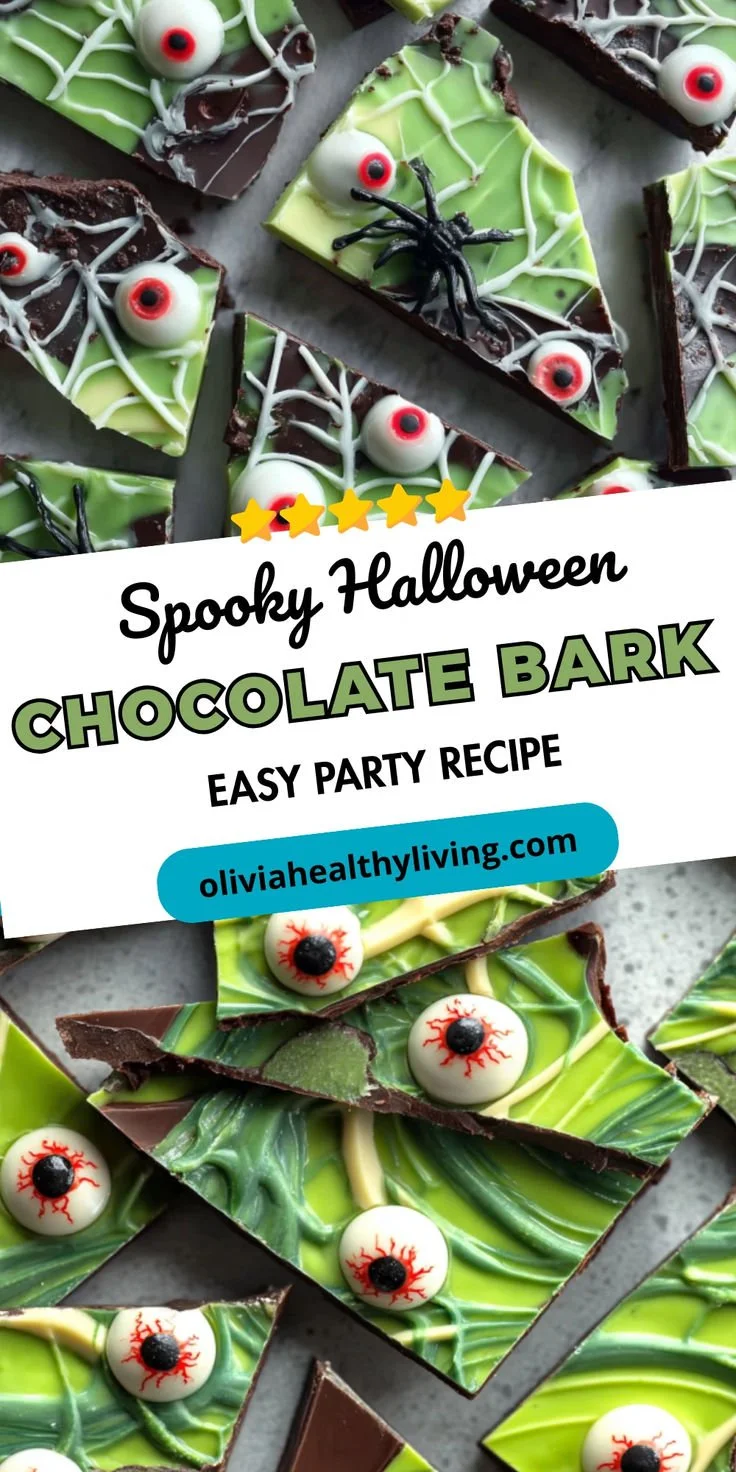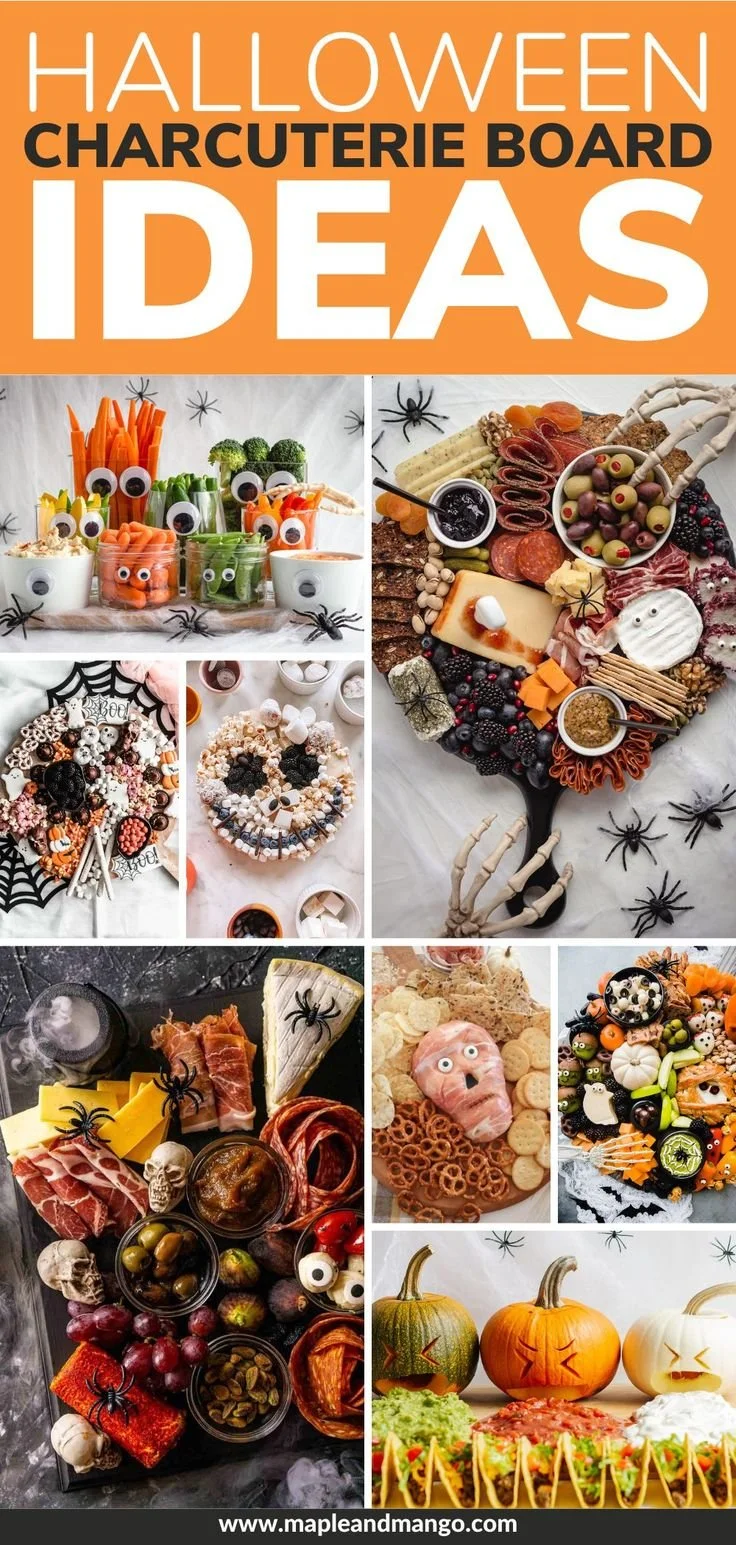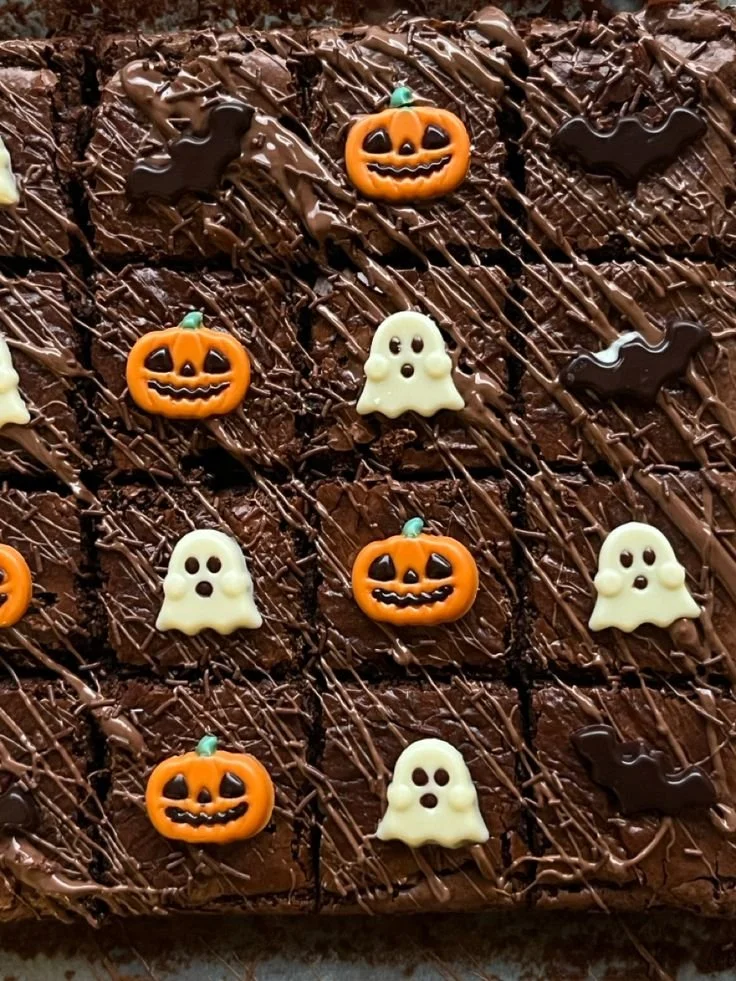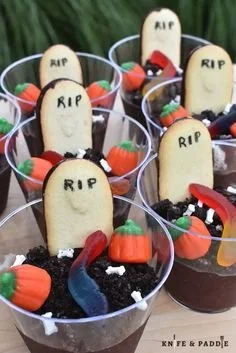
Indulge in the festive fun with these Spooky Halloween Dirt Cups. This delightful treat combines chocolate pudding, crushed cookies, and gummy worms, making it a visually appealing and delicious dessert perfect for Halloween gatherings. Easy to make and a hit with kids and adults alike, these cups offer a playful twist that captures the spirit of the holiday.
Why You’ll Love Spooky Halloween Dirt Cups
- Fun and Festive: These dirt cups are a creative way to celebrate Halloween, instantly bringing a playful spirit to any gathering.
- Easy to Prepare: With simple ingredients and minimal steps, even novice cooks can whip these up without any hassle.
- Customizable: Personalize your dirt cups with various toppings and mix-ins to cater to your guests’ tastes.
- Interactive Treat: Kids enjoy making and decorating their own cups, adding to the fun of the event.
- No Baking Required: Perfect for busy parents or last-minute party planners, this dessert doesn’t require any baking, saving you time.
Recipe Overview
- Prep Time: 15 minutes
- Cook Time: 0 minutes
- Total Time: 15 minutes
- Servings: 6
- Difficulty Level: Easy
Ingredients You’ll Need for Spooky Halloween Dirt Cups
- Chocolate Pudding Mix (2 packages, 3.9 oz each): Provides the rich and creamy base of the dessert.
- Milk (4 cups): Needed to prepare the pudding according to package instructions.
- Chocolate Sandwich Cookies (1 package, crushed): These are used to create the "dirt" layer; Oreos work well here.
- Gummy Worms (1 bag): A fun topping that adds texture and a spooky element.
- Whipped Topping (8 oz, optional): For an extra creamy layer on top, you can use whipped cream or whipped topping.
- Clear Plastic Cups (6): Perfect for serving and showcasing the layers of your Halloween dirt cups.

How to Make Spooky Halloween Dirt Cups
-
Prepare the Pudding: In a large mixing bowl, combine the chocolate pudding mix with the milk. Whisk for about 2 minutes until well-blended and smooth. Let it sit for a few minutes to thicken.
-
Crush the Cookies: Place the chocolate sandwich cookies in a plastic bag and crush them into fine crumbs using a rolling pin or your hands. Set aside for layering.
-
Layer the Ingredients: In each plastic cup, start by adding a layer of chocolate pudding. Follow with a layer of crushed cookies to mimic dirt. Repeat this process until the cups are full, finishing with a layer of crushed cookies on top.
-
Add Whipped Topping: If using, pipe or spoon a dollop of whipped topping on the very top of each cup. This adds an extra creamy texture.
-
Decorate with Gummy Worms: To finish, place several gummy worms on top of the whipped topping or partially bury them into the crushed cookies for a spooky effect.
-
Chill Before Serving: Refrigerate the dirt cups for at least 30 minutes to allow the flavors to meld and the pudding to set.
Tips for Success
- Use Whole Milk: For creamier pudding, opt for whole milk instead of low-fat or skim.
- Chill Your Ingredients: Chilling the pudding mixture before layering can help it set better and creates a sturdier final product.
- Watch the Cookie Crumbs: Ensure the cookies are well-crushed to achieve the dirt texture, but don’t over-crush them into powder; some texture adds to the look.
- Experiment with Toppings: Consider adding other Halloween-themed candies to your cups, such as candy corn or chocolate spiders.
- Serve Immediately: For the freshest taste, serve these cups within a few hours of making.
Easy Variations
- Pudding Flavor Swap: Try using vanilla pudding for a different flavor profile; you can dye it green to add to the Halloween theme.
- Dairy-Free Option: Substitute almond milk or coconut milk with non-dairy chocolate pudding for a dairy-free version.
- Fruit Add-Ins: Add sliced banana or strawberries between layers for extra flavor and nutrition.
- Crunchy Layer: Mix in some toasted nuts or granola among the layers for added crunch.
- Spooky Cupcake Version: Use cupcake liners instead of cups and layer like a parfait.
What to Serve with Spooky Halloween Dirt Cups
- Pumpkin Spice Cupcakes: Their warm spices complement the chocolate flavor beautifully.
- Apple Cider: A refreshing and seasonal drink, perfect for washing down the dessert.
- Chocolate Chip Cookies: Keep is classic with these soft treats that everyone loves.
- Cheese Platter: Balance the sweetness with savory cheeses and crackers for variety.
- Halloween Fruit Platter: Assorted fruits cut into Halloween shapes add a fresh touch to your spread.
Storage and Reheating
- Refrigerator Storage: Store the dirt cups in the refrigerator for up to 3 days. Cover them with plastic wrap to prevent them from drying out.
- Freezer Storage: Not recommended for freezing, as the texture of the pudding and whipped topping can change.
- Best Reheating Method: No reheating necessary as this is a chilled dessert. Serve directly from the refrigerator.
- Preserve Texture: If storing, don’t add gummy worms until serving time to keep them from getting soggy.
- Meal Prep Note: You can prepare the pudding and crush the cookies a day ahead for quicker assembly.
Common Mistakes to Avoid
- Rushing the Pudding: Make sure to whisk the pudding long enough for it to thicken properly; otherwise, it may end up too runny.
- Forgetting Layers: Ensure each cup has equal layers to keep them visually appealing and tasty.
- Soggy Cookies: Avoid layering the cookies too soon on top of the pudding; wait until you’re ready to serve.
- Skipping the Chill Time: Allowing the cups to chill helps the flavors meld and improves the texture.
Spooky Halloween Dirt Cups: Background & Cultural Inspiration
Halloween, celebrated on October 31st, has origins in ancient Celtic festivals marking the end of the harvest season. The themed treats, like these dirt cups, reflect the playful and spooky nature of the holiday, making them perfect for parties and family gatherings. The idea of "dirt" cups reflects themes of the season—getting into the spirit of ghost stories and playful trickery, while also appealing to the sweet tooth with rich chocolate and candy. These treats stand out as a favorite for their creative presentation and ease of making, allowing anyone to join in on the festive fun.
Frequently Asked Questions
Can I make these dirt cups in advance?
Yes, you can prepare the pudding and crumble the cookies ahead of time. Assemble them a few hours before serving for the best texture.
What can I use instead of gummy worms?
You can use any Halloween-themed candy like gummy bats, spiders, or even chocolate-covered raisins.
Is there a way to make this a healthier dessert?
You can use a sugar-free pudding mix and use a light whipped topping to reduce sugar and calories.
How long can I store leftover dirt cups?
These cups can be stored in the refrigerator for up to 3 days, but they are best consumed fresh.
Can I use other types of cookies instead of chocolate sandwich cookies?
Absolutely! Vanilla wafers or graham crackers can be used for a different flavor and texture experience.
Final Thoughts
Spooky Halloween Dirt Cups are not only a fun and creative treat but also one that can be easily crafted by home cooks of any level. With their delicious layers of chocolate and playful presentation, they are sure to delight your friends and family this Halloween. So gather your ingredients, get creative, and enjoy making these festive cups that highlight the joy of the season. Happy Halloween!